You’ve created a Project that includes a lot of dynamic design elements, but you’re concerned about the internet connectivity where you’ll be presenting it. This is where the premium feature of downloading your project as HTML5 shines brightest.
HTML5 retains animations, interactivity, video, audio and other dynamic elements of your project when viewing in an offline browser, and even utilizes all of our best presenting features, so you can present with complete confidence!
Note: If presenting offline using HTML5, any third-party externally embedded content in your project that requires an internet connection (i.e., a YouTube video), will not work.
1
In the Editor window of your Project, select
Download from the top right.

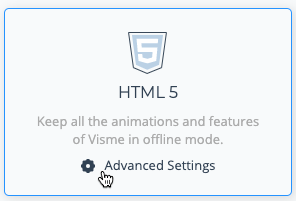
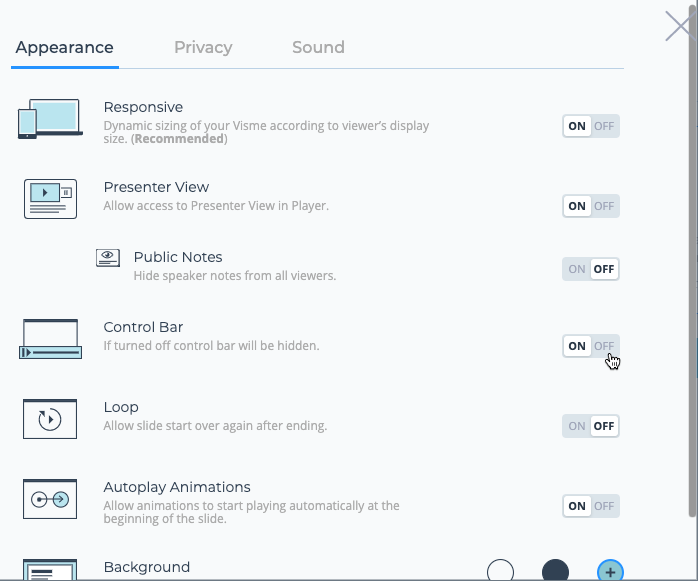
From the options available, select HTML 5. Before continuing, review the Advanced Settings for your project, which includes options such as enabling the Control Bar, Presenter View, and Public Notes. These options will impact how your project appears to others as well as yourself during the presentation.
If your project’s slide have Speaker notes, it’s advised that you enable Presenter View as well as Public Notes.
2
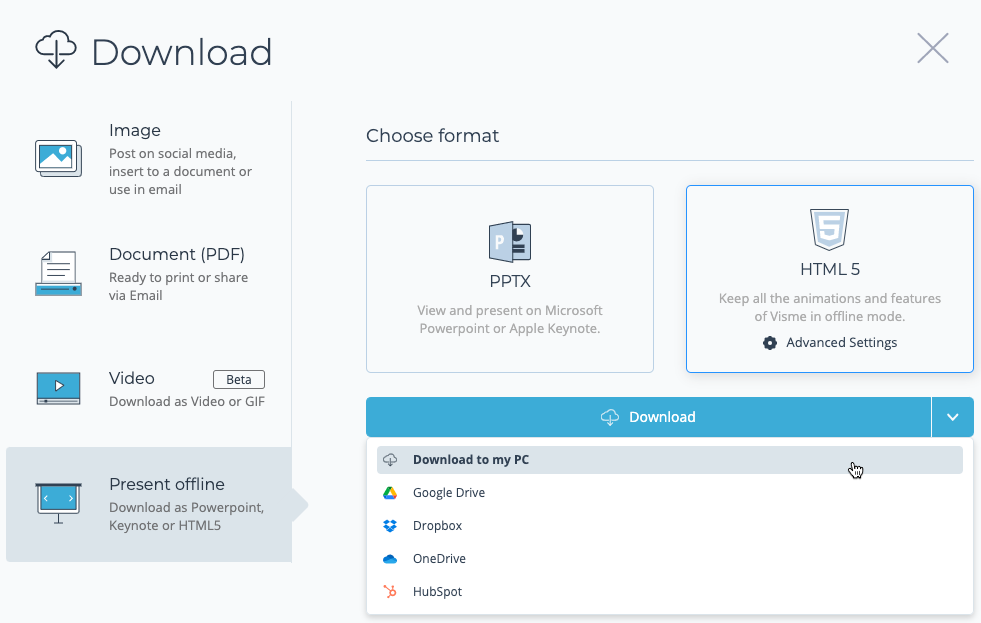
With your Advanced Settings now set, click
Download and the project will be saved in your computer’s download destination as a Zipped (compressed archive) file.
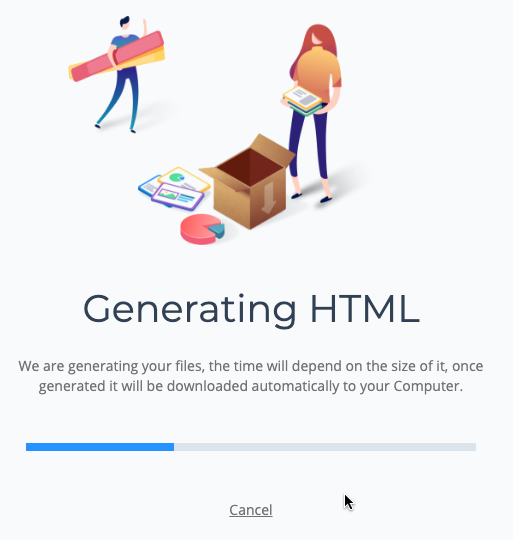
Depending on the total size of your project, it may take a moment to generate the HTML5 code for the download. This is normal, and the process should complete momentarily.
If you’re on Mac, click to extract the zipped file, and your computer will create a new folder in its download destination of your project. If you’re using Windows, navigate to your computer’s download destination, right-click the downloaded zipped file, and select Extract All.

3
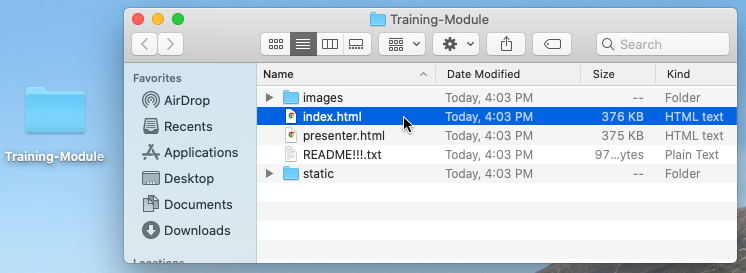
Open the unzipped folder for your project to view its contents. We recommend moving this folder from your computer’s download destination to your local folder or desktop for easier access in the future.
4
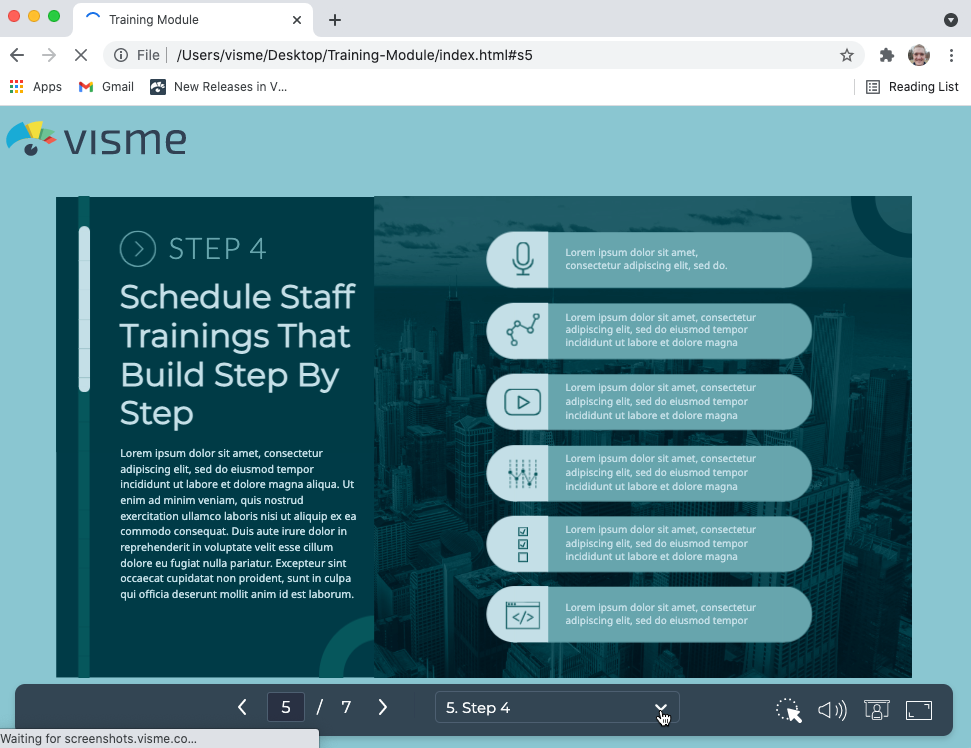
To open your project offline, double-click the index.html file in the folder. It will open in your default web browser. Visme recommends Google Chrome for all online and offline use with your projects. Other supported browsers include Firefox, Edge, and Safari. Visme does not support Internet Explorer 11.
5
If you chose to keep the Control Bar enabled in Advanced Settings, you’ll see the same navigational tools for project offline that are available online, including the Left Arrow icon to go back one slide and the Right Arrow icon to move forward one slide. You can also type in a value for a slide’s number, or select a specific slide from the dropdown.


6
In addition to the navigational tools, you also have the option to enable the Presenter Pointer options, as well as select Mute/Unmute icons to mute or unmute your project, click Presenter mode icon to enter Presenter mode (if enabled earlier in Advanced Settings), or click Fullscreen to enable full screen view.


7
When entering Presenter mode, a new window will appear with all of the presenter mode controls. These controls will command how the project is viewed in the previously opened index.html window. This is a great feature to use with multiple displays.
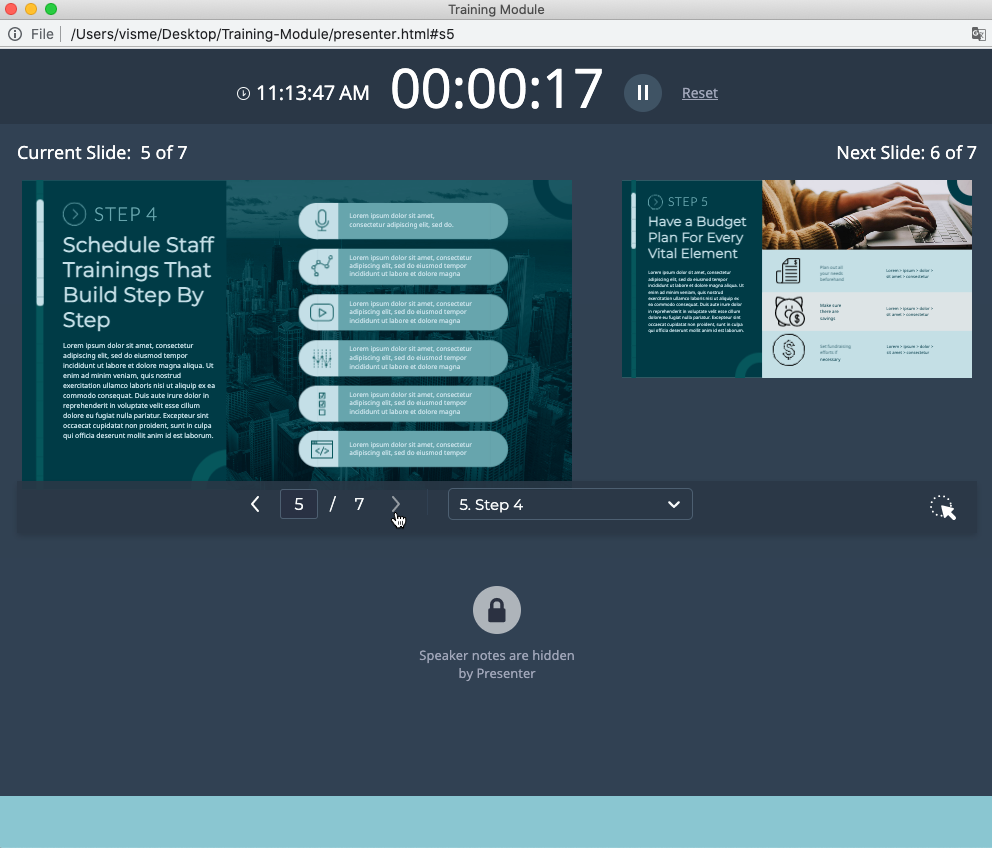
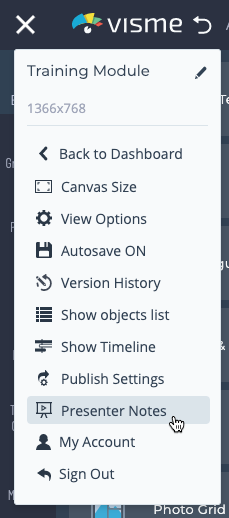
Unless you previously made changes to your Presenter Notes settings, by default, all notes will be hidden (to change this, you’ll need to go back online into your project, change settings in either your Presenter Notes or in Advanced Settings – Public Notes, and then re-download the project as HTML5). To access Presenter Notes in the Editor window of your project, select the menu icon from the top left of the editor, and click Presenter Notes.
8
You can add and edit Speaker notes to any slide, format the text in all sorts of ways and create a name for your notes at the top left of the editing window.

Click the gear icon to enter the Settings for all of your Presenter Notes. If you want to be able to see your notes in the Presenter View offline, you’ll need to keep the Presenter View ON and Hide speaker notes from all viewers set to OFF.

9
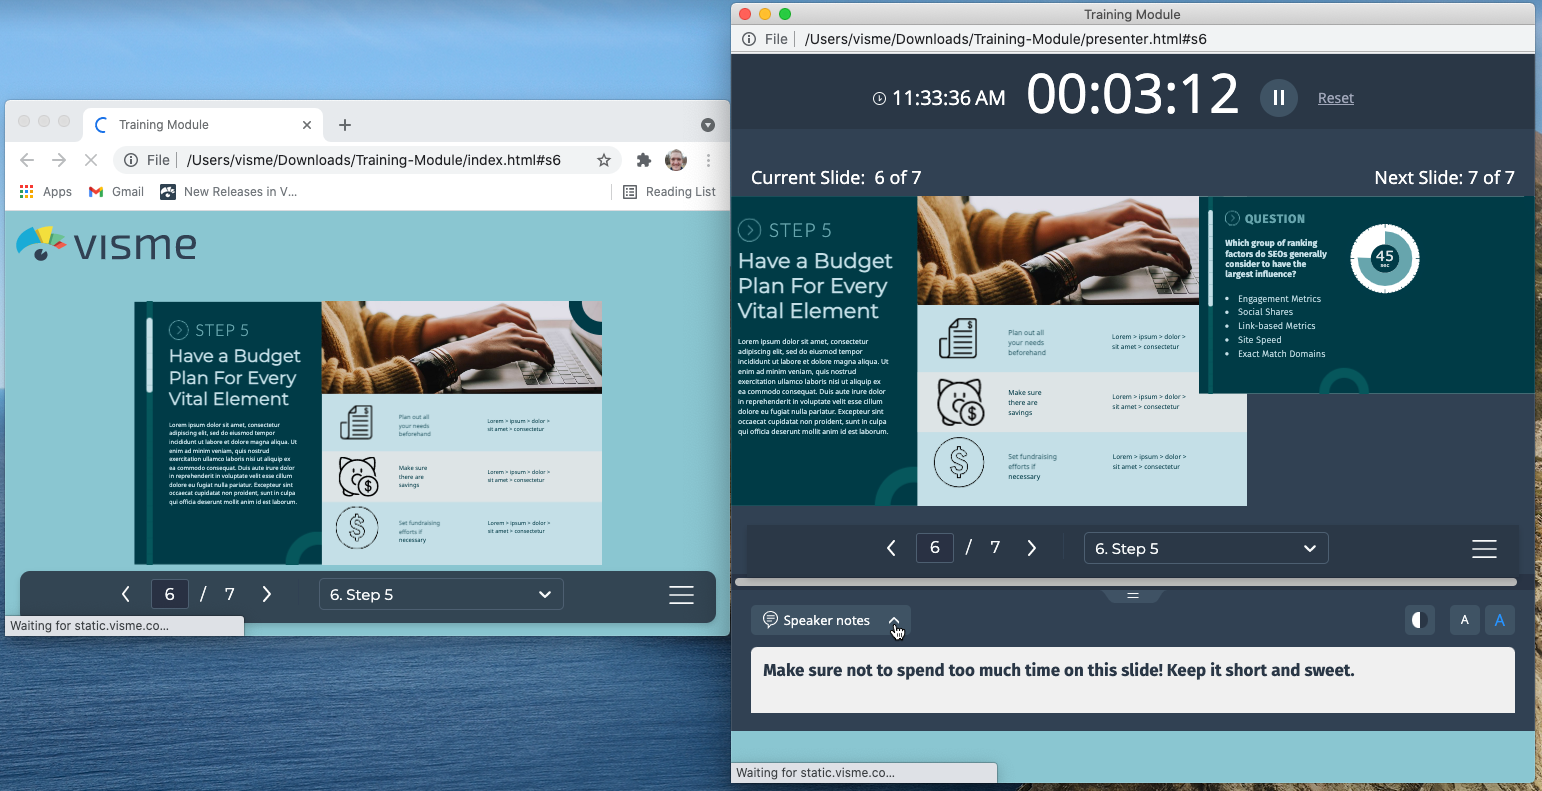
Back inside your offline HTML5 download, with Presenter Mode enabled, your Speaker notes should now be viewable.
10
In addition to the navigational controls, even while offline, Presenter Mode still offers you the ability to change the contrast of your Speaker notes by clicking the Text Contrast icon, make the note text smaller by clicking the Make Text Smaller icon, or larger by clicking the Make Text Larger icon.


11
You can access the
Presenter Pointer options from Presenter Mode as well by clicking the Presenter Mode icon. If your Presenter Mode window is a little small, you may need to select the Menu icon first before selecting the Presenter Pointer.


12
You can also click to Pause or Reset the Counter time. The system’s real time will remain unaffected.

HTML5 supports all of the hyperlinks added to the text/objects within the project.


![]()
![]()
![]()
![]()
![]()
![]()
![]()


![]()
![]()
![]()

![]()

