Adding animations to your projects is the perfect way to not only engage your audience but quickly grab their attention right off the bat. Using the Basic Tab of the Animation Timeline, you will be able to precisely customize the animations of your project regarding slide transitions and animation durations and easily preview the changes applied. Here’s how:
How to access
1
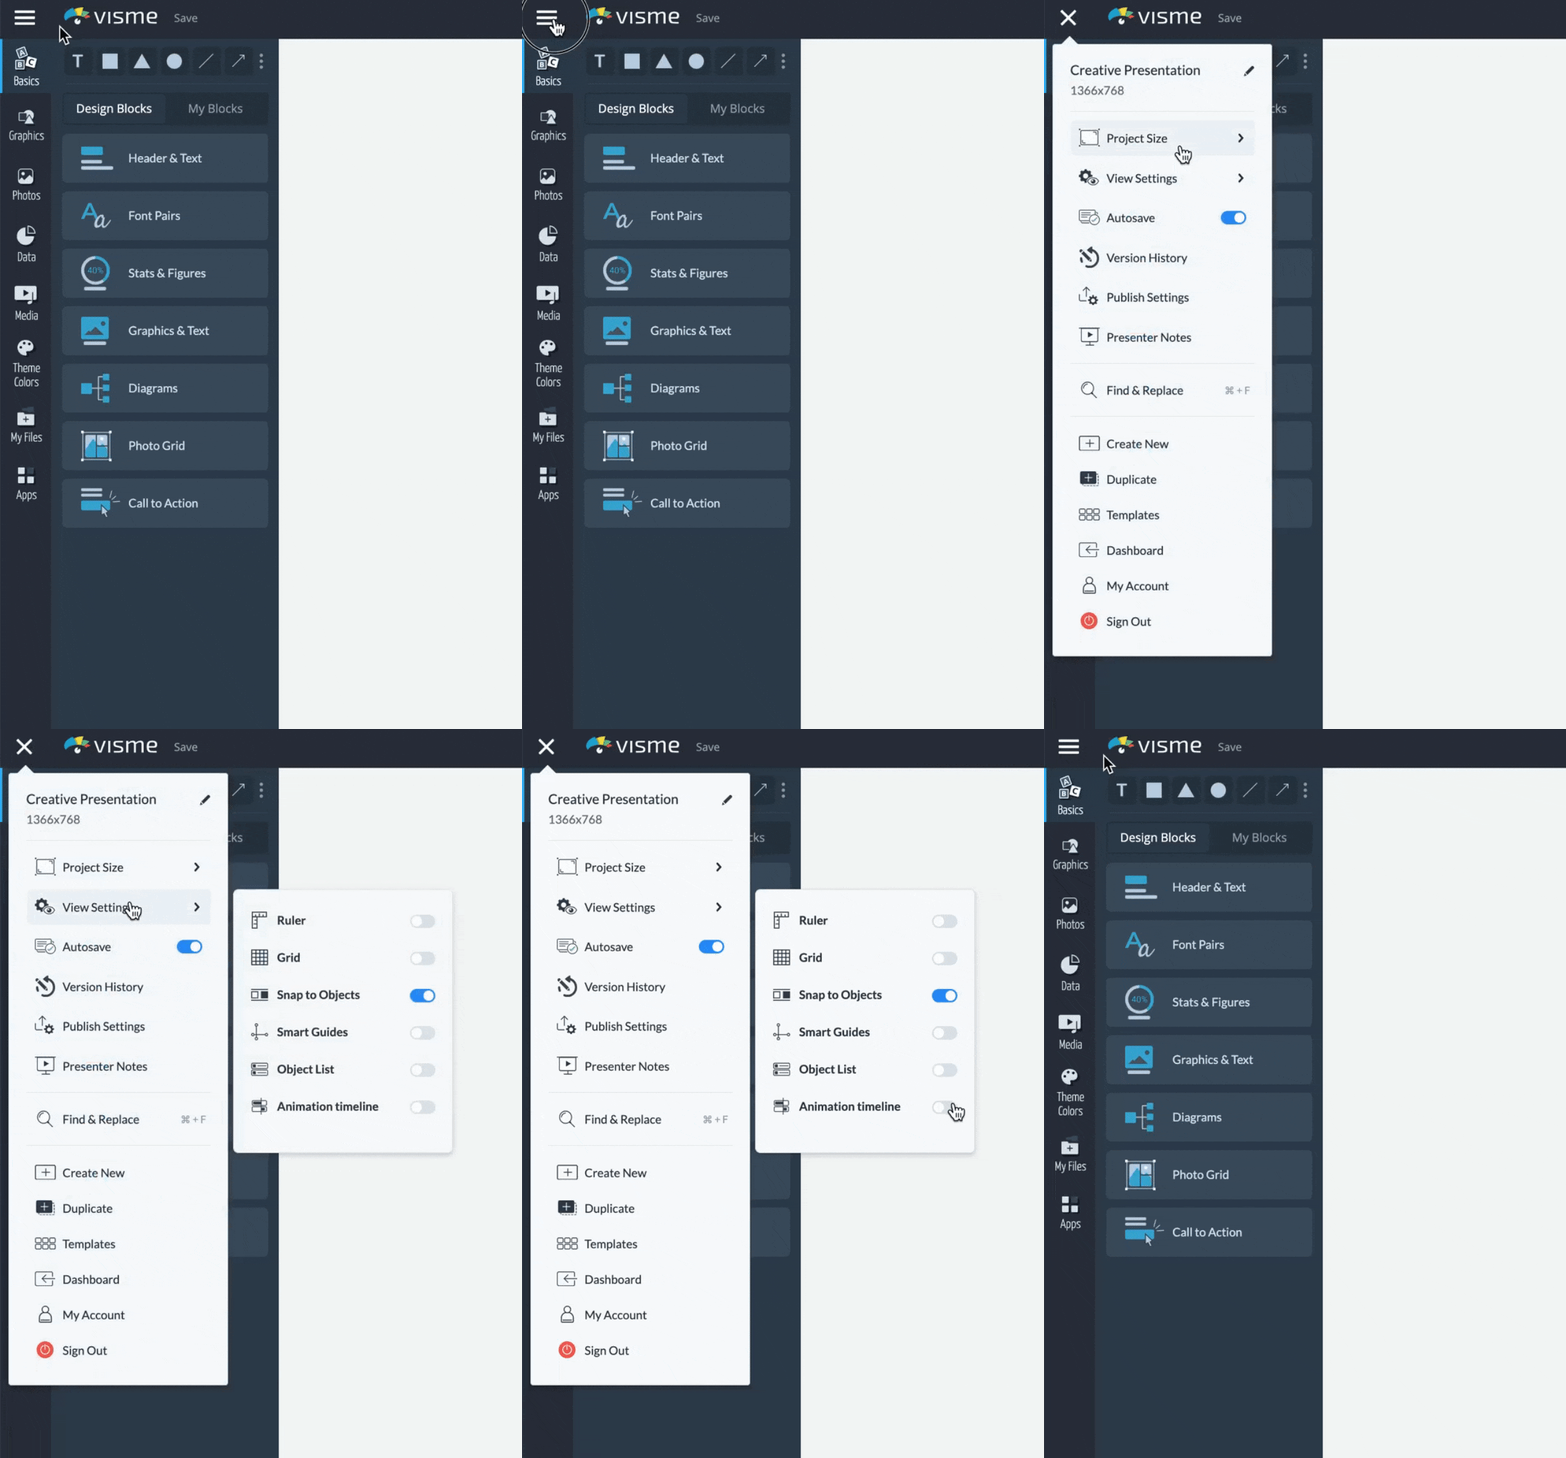
From the editor window of your project, navigate to the top left menu above the sidebar and select “View Settings”. Then, turn the “Animation Timeline” switch on from the dropdown menu.
Or…
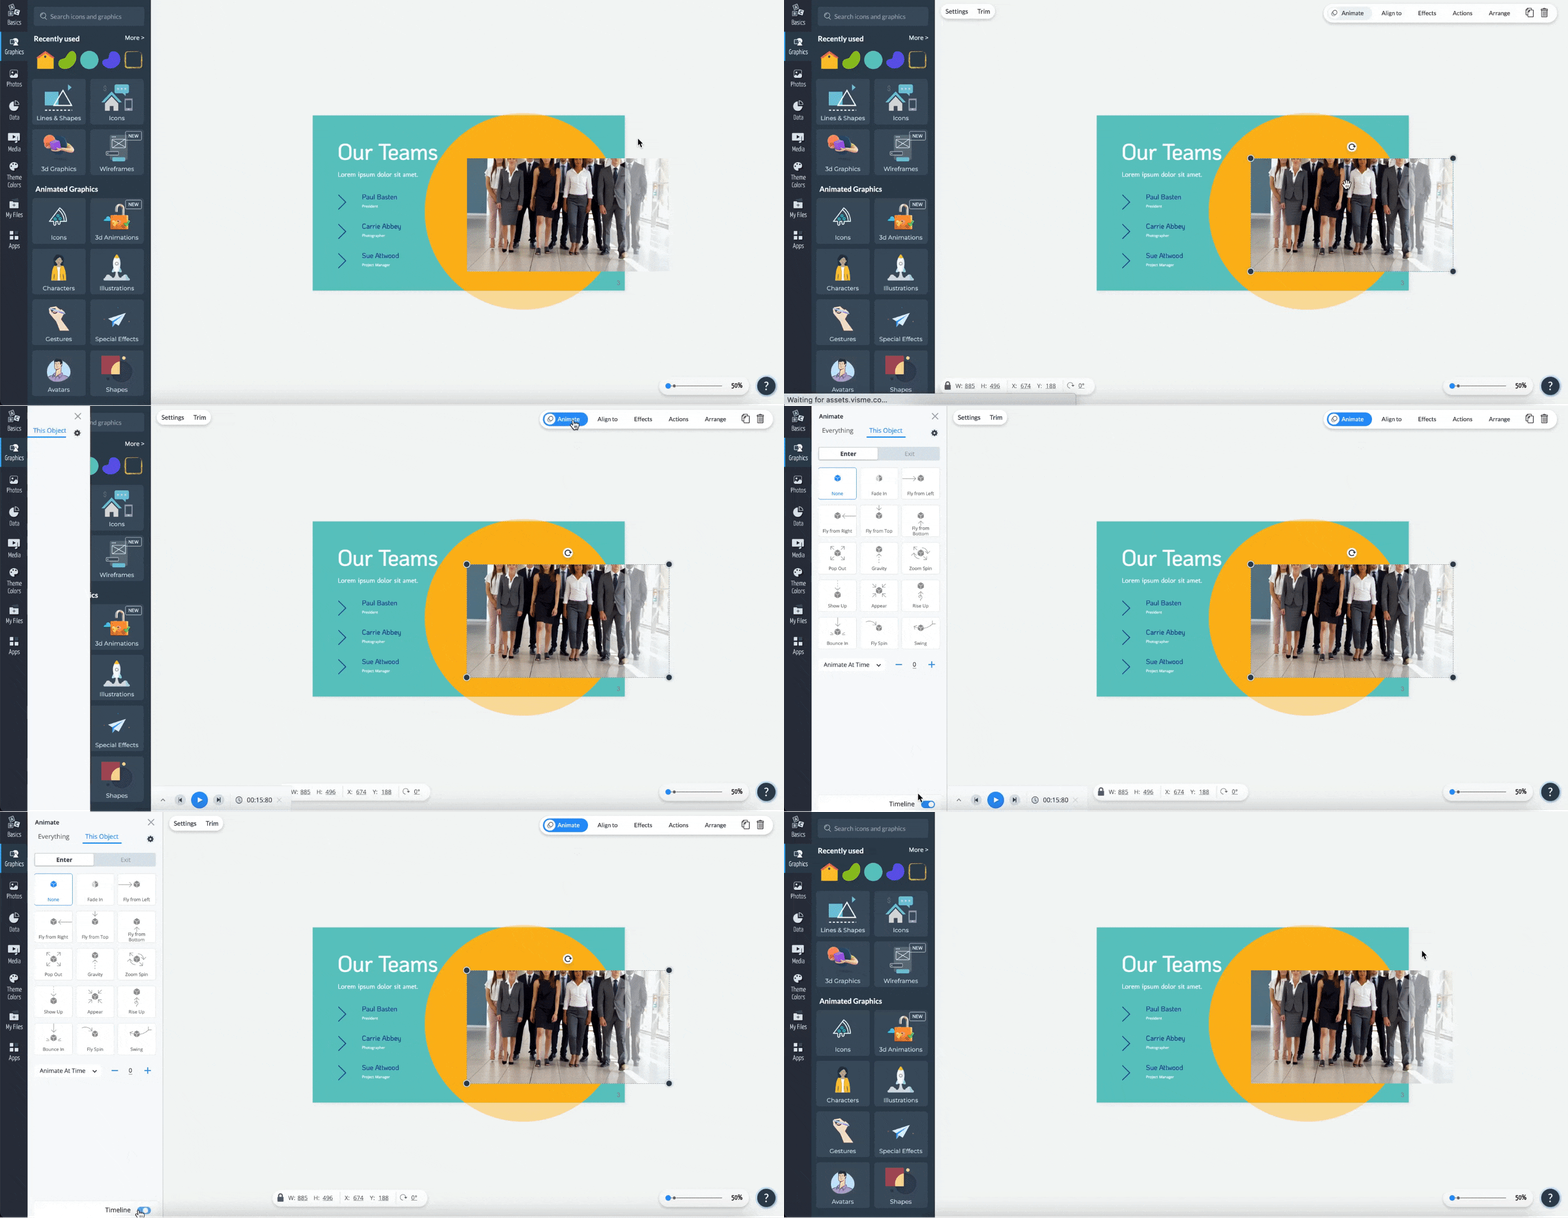
Select an object in your Project and click on the “Actions” button at the top right corner and then select “Animate” from the dropdown menu. The animation menu will appear along the bottom left corner of the Editor. From there, you will be able to turn ON/OFF the “Timeline” switch at the bottom of the animation panel to show or hide the Timeline.
Basic Tab
The Basic Tab offers two methods for animating your objects within a slide: You can animate everything at once, or you can select a single object to animate it individually.
1
Within the Animation panel on the far left side of your view, please note that by selecting the
“Everything” tab, you will be able to change the transition style for your entire slide(s).
(Learn more about slide transitions here).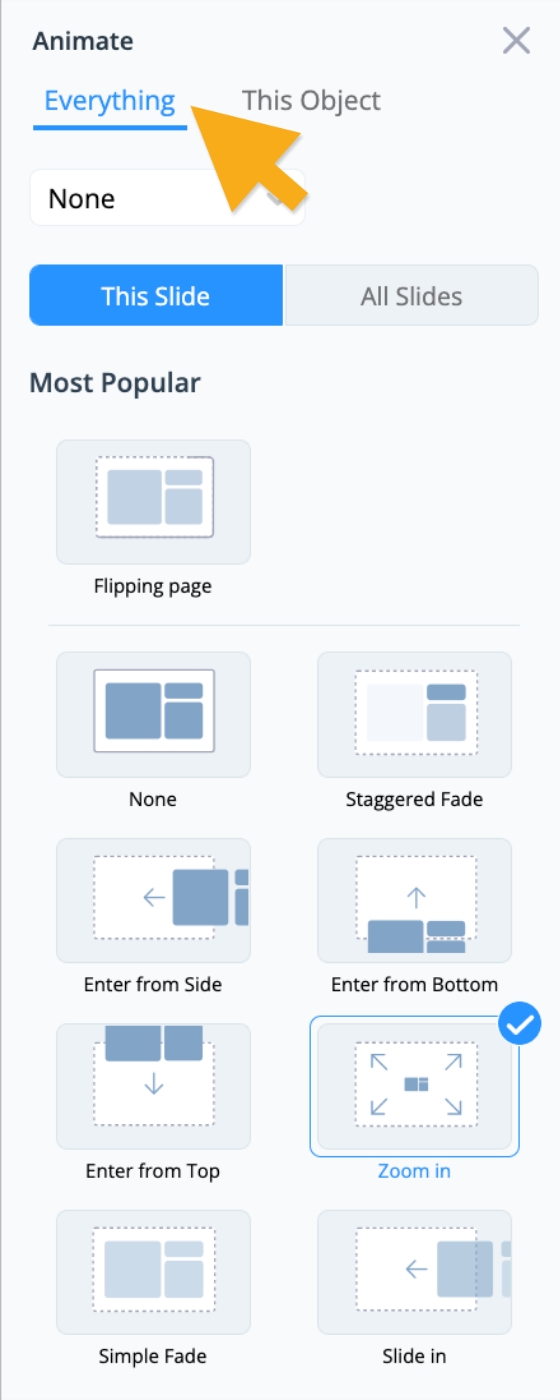
2
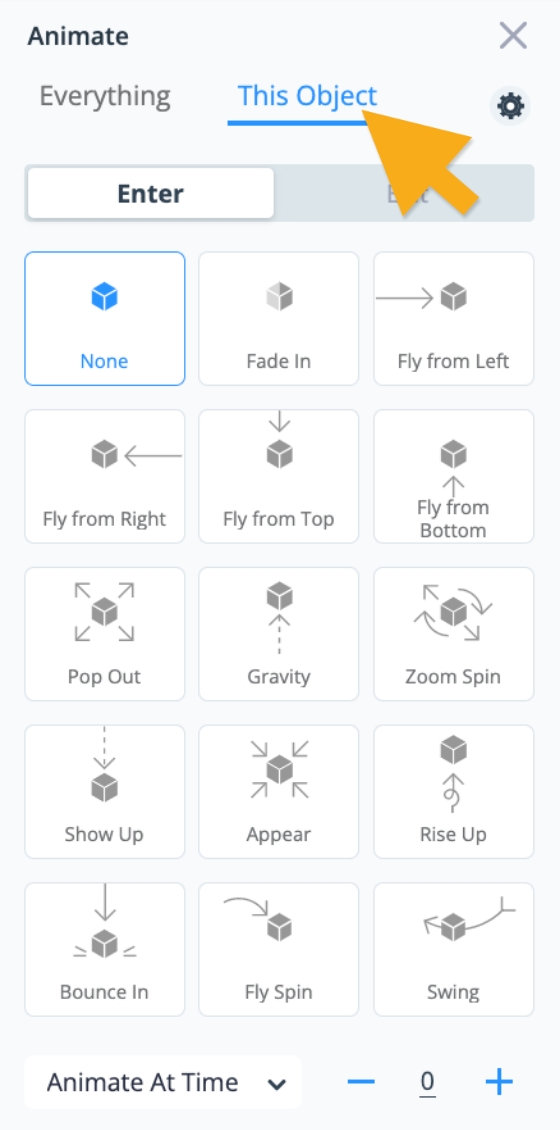
Select the “This object” tab to animate selected objects individually. You can also select objects within your design in the center of the Editor window to view them within the animation timeline and adjust them.
3
From there, you can choose the type of animation styles you want within the main Animation panel on the left side of your screen .
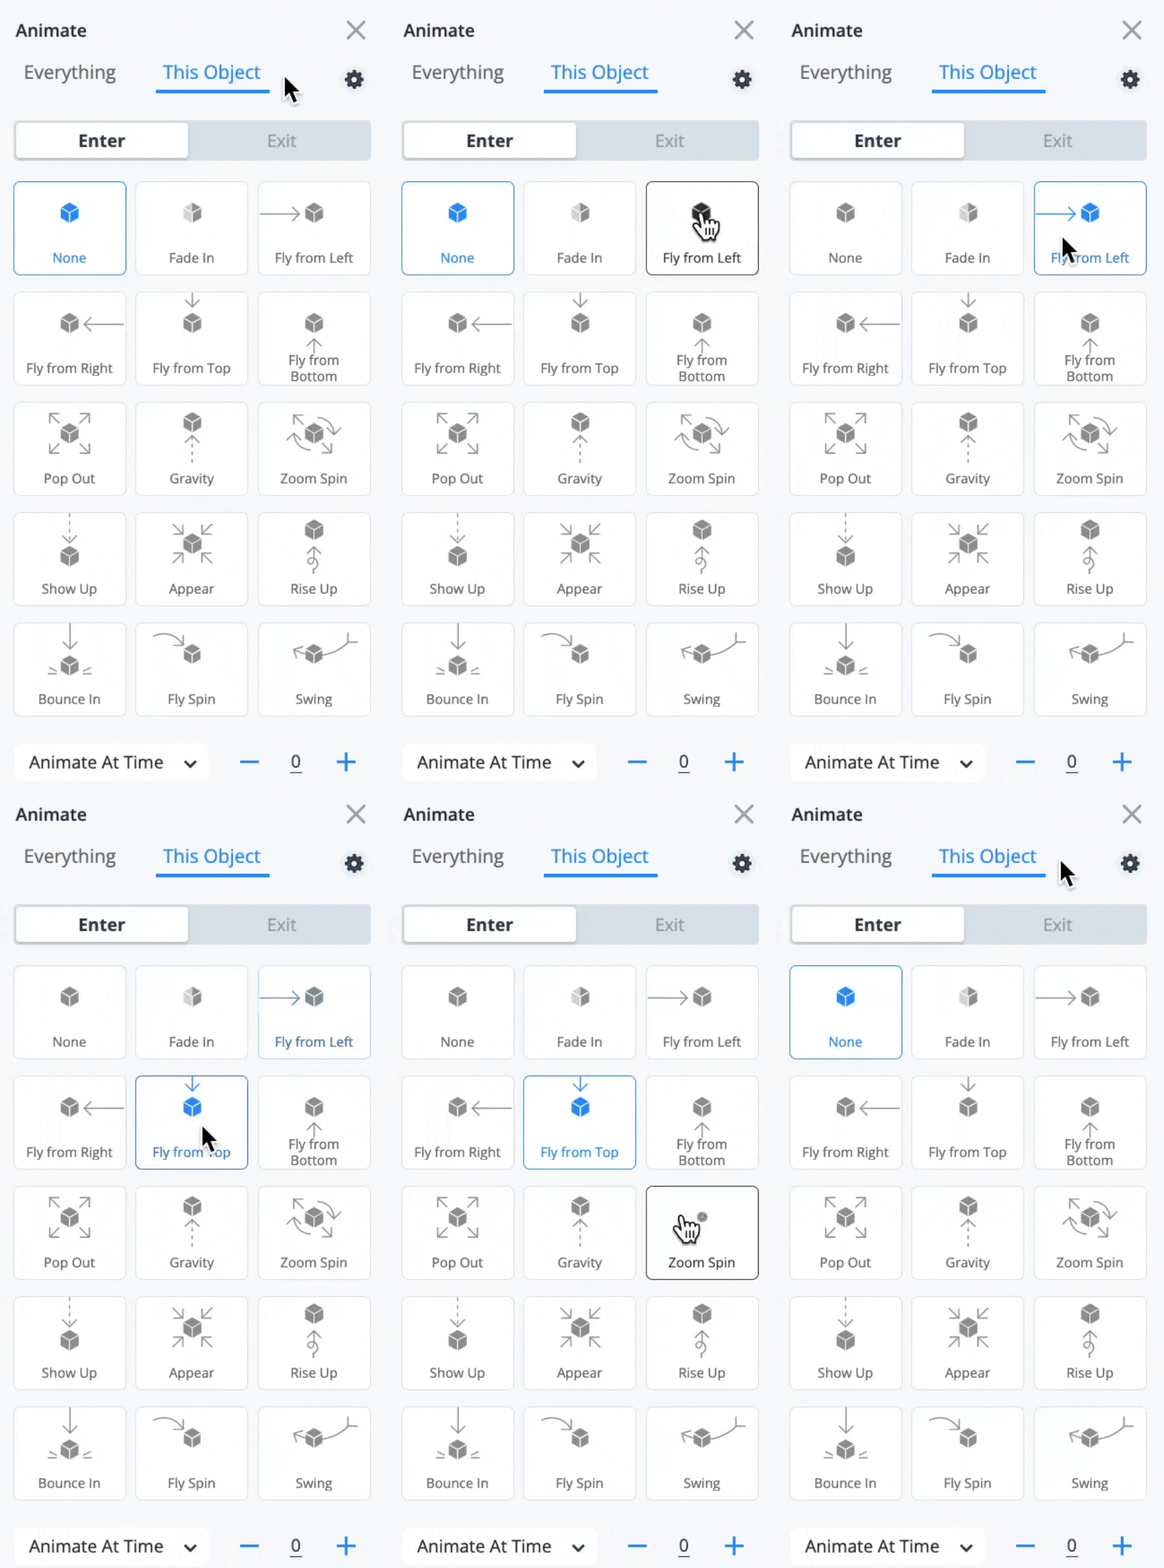
4
After selecting your animation style, you can use the dropdown menu towards the bottom of the animation panel to select when and how the animation should start. You can choose between animating the object on click or advancing after a specific amount of time (which is the time the object will animate based on the timestamp in the timeline and duration of the slide/page.
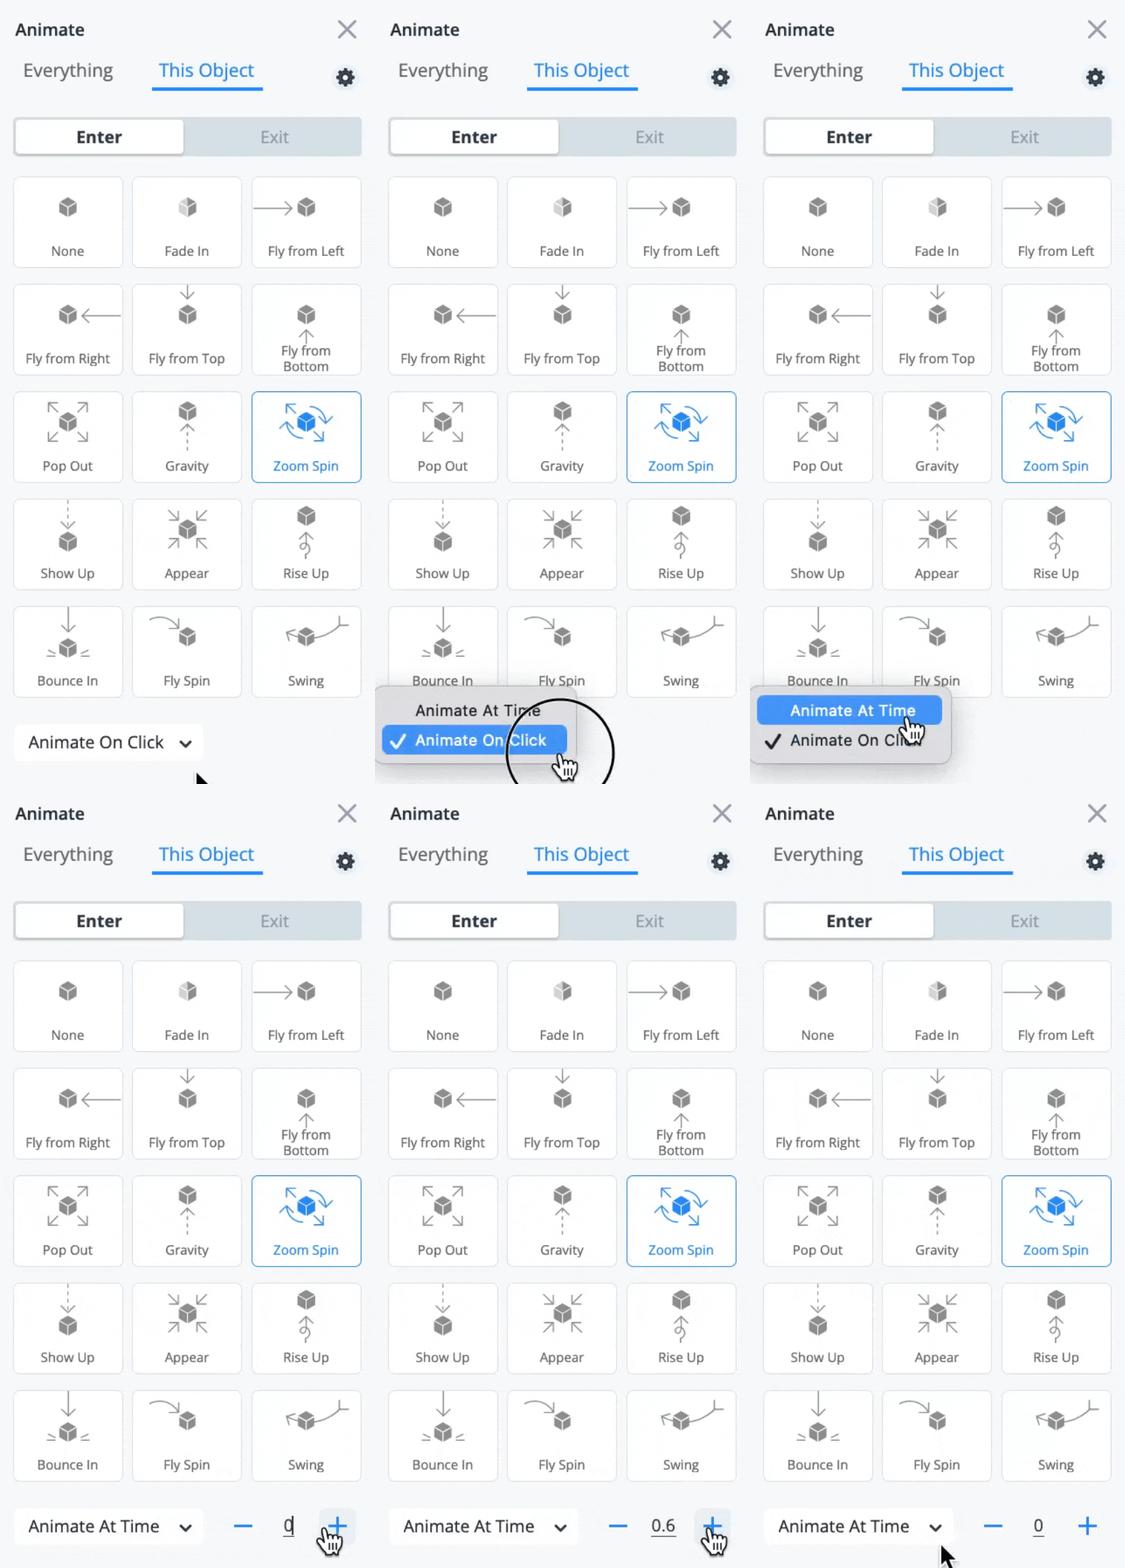
5
Once your animation settings have been applied, you can shorten or lengthen the presence of the animated object on the slide by clicking the object in the timeline, and moving/dragging it within the timeline view from left to right to change the time the animation starts and how long the object remains on the slide if you wish to have it exit the slide before the slide duration is completed.

Note: If you are looking for more precision and an expanded view within your timeline, you may benefit from the
Advanced animation timeline. The Advanced view in the timeline is available within Visme’s Pro and Enterprise plans. If you would like more help in considering Visme’s Pro or Enterprise plan for you and your team, please
connect with our Sales Team here.
How to preview the animations
– Red Line: Click and Drag the red line to adjust where the previewed playback starts in the timeline.
– Play: Click the Play icon to preview your slide or block’s animation.
– Skip Back/Skip Forward: Click the Skip Back / Skip Forward icons to skip back to the beginning of the animation in the Timeline for previewing, or to skip to the end of the animation.
– Stop: Click the Stop icon to pause the playback of the previewed animation while it is in motion. To resume, click Play again.
– Zoom: Zoom allows you to zoom in and out of the timeline. Zooming in allows you to make more precise timing selections in the timeline while zooming out allows for easier access to the previewed animation as a whole.


