Setting-up your Brand Kit has never been easier! To save your time and effort, Visme offers the possibility to import your brand’s assets for a unified aspect across all designs simply using the URL of your website. Maybe you are wondering – How can it happen? – Very easily: Using our Brand Wizard! Here’s how to do it in some simple steps.
Note: Access to setting your custom branding through the Brand Kit is available within a Visme Business or Enterprise plan.
1
Once logged into your dashboard, along the left of the platform you will see a sidebar that contains several tabs including Projects, My Brand and Data. Click on the “My Brand” button to access your Brand Area.

2
On the top right corner of your Brand Area, you will see the “Brand Wizard” button. This will reveal the Brand Wizard’s page where you will need to write down your business website URL to extract your Brand Assets to Visme. Then, click on “Go”.

3
Once your
Brand Assets have been extracted, select which
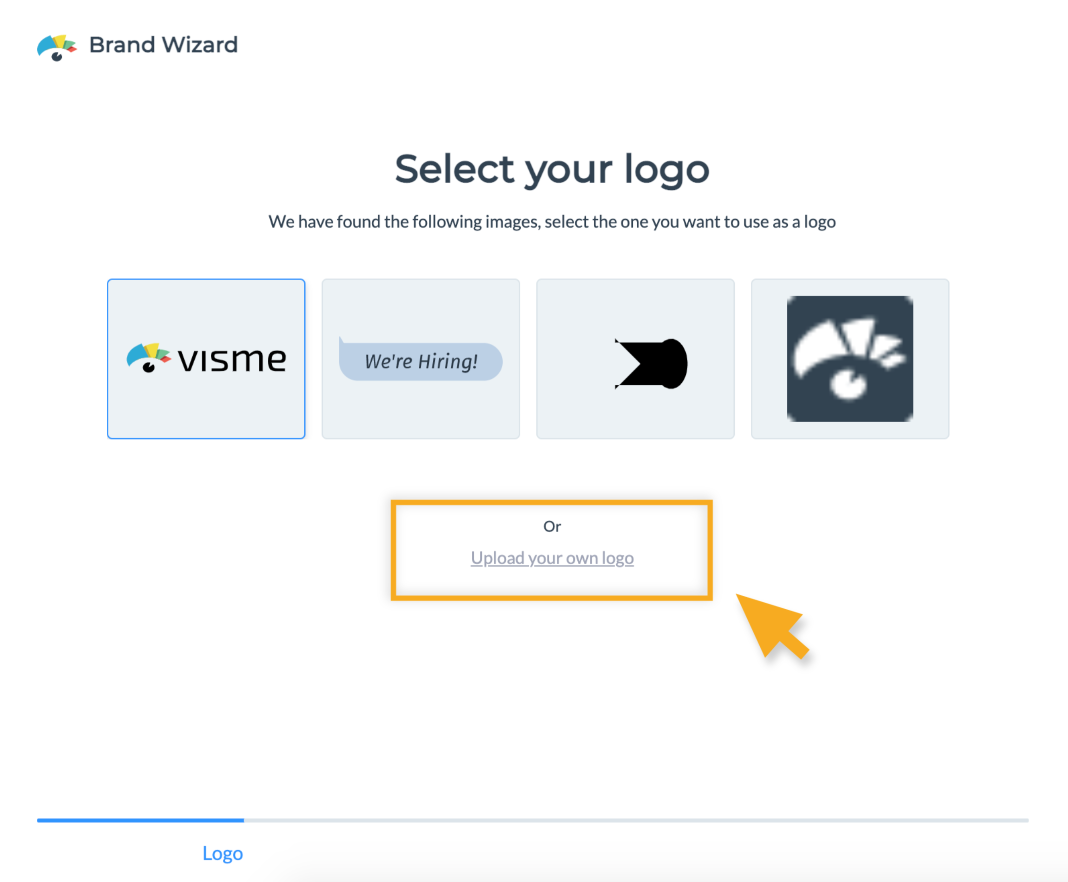
Logo you want to bring into Visme by clicking on the right image for your brand and move forward by clicking on the
“Next” button.

If you cannot find the right logo, you can upload it yourself by simply clicking on “Upload your own logo”. A pop-up will open allowing you to select and insert your desired image from your computer.
4
Then. select which
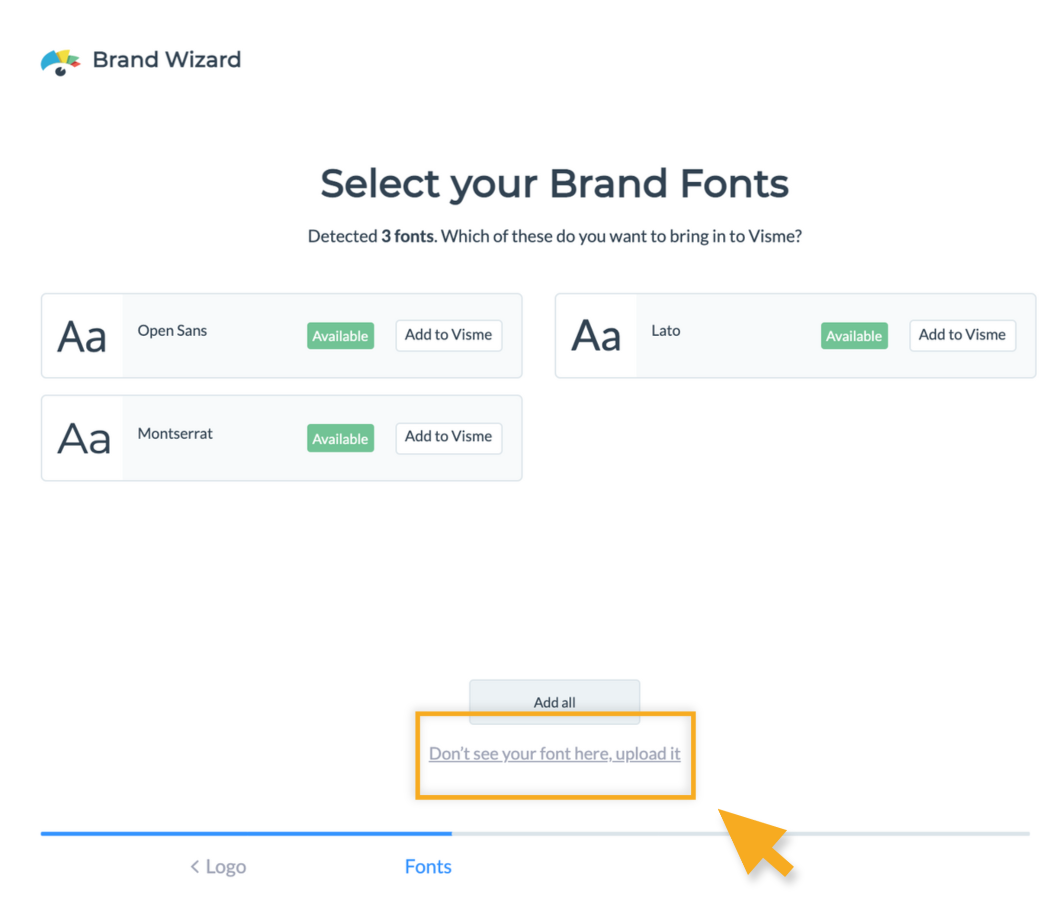
Font(s) you want to bring into Visme by clicking on the
“Add to Visme” button. You can choose one or more of them. To move forward, click on the
“Next” button.

If you don’t see your fonts, you can upload them yourself by simply clicking on the “Don’t see your font here, upload it” button. A pop-up will open allowing you to select and insert the right font from your computer.
5
Now is the time to Set-up your
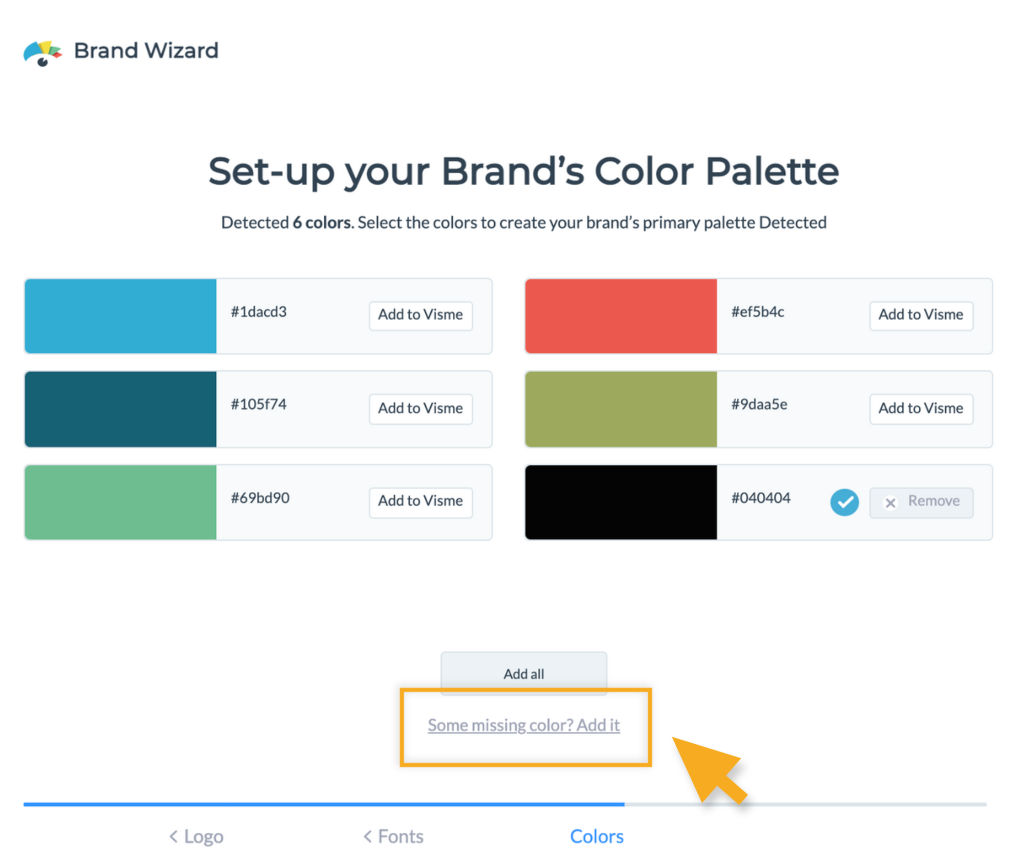
Brand’s Color Palette selecting the right
Color(s) by clicking on the
“Add to Visme” button. You can choose one or more of them. To move forward, click on the
“Next” button.

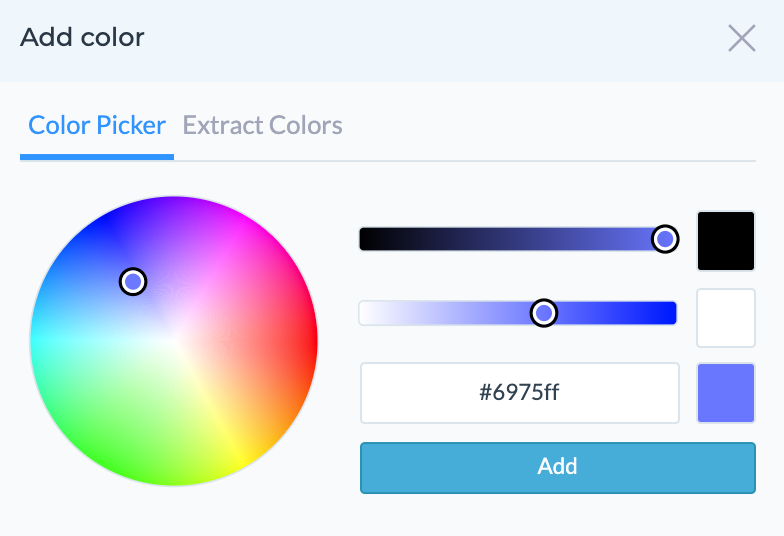
If some color is missing, you can add it by clicking on the “Some missing color? Add it”. A color picker will open allowing you to select the right color from the picker or to extract it from an image or logo of your brand.
6
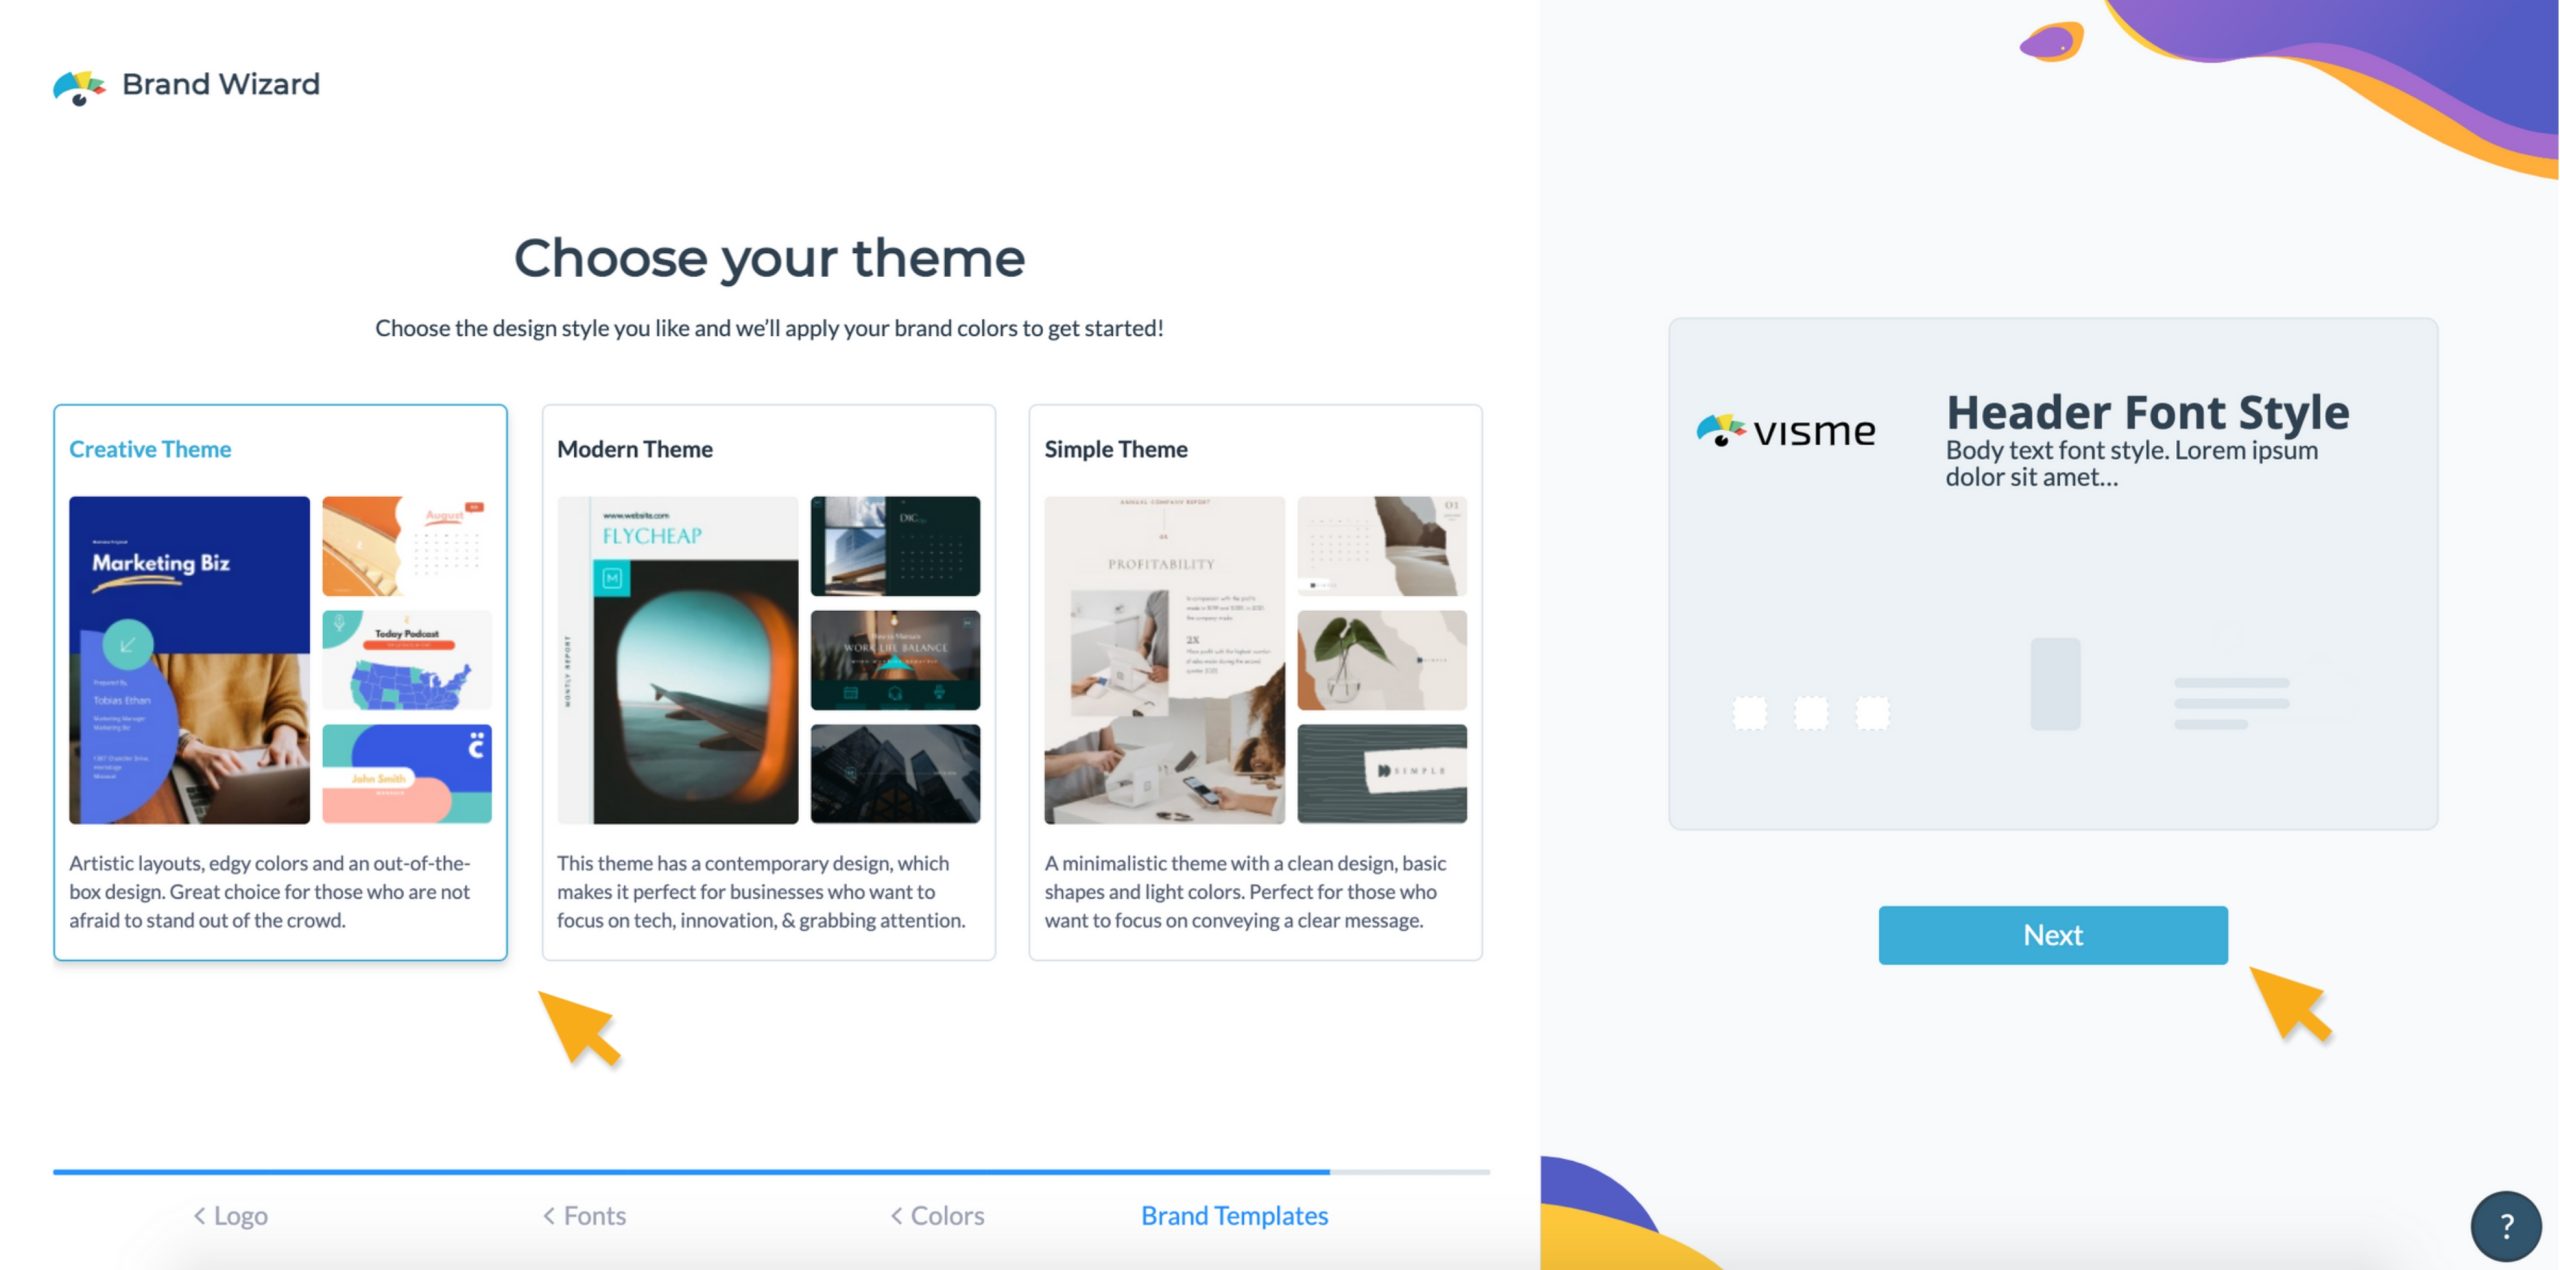
The last step is to choose the design style you like best for your brand. Once you have selected the style, click on the “Next” button to move forward. Once this is done, all the assets of your brand will have been extracted and you have ready to use templates you can use right away.
7
You’re done, your Brand Assets are set-up. Easy Peasy!

Are you looking to set up your Brand Area manually? No problem — you can do so in minutes! Learn more about how to set up your colors, fonts, logo for published pages, and brand links in this article.


