Upgrading to Premium
If you’re a Free (Basic) user looking to take advantages of Visme’s premium features, you can upgrade your account by using one of the following methods. For reference, you can also review Visme’s plans and pricing.
Note:Users can’t manage their subscription settings via mobile quite yet.
1
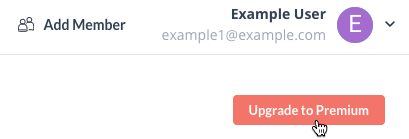
Login to your Visme account. As the Dashboard loads, you’ll see a button on the right appear that says
Upgrade to Premium.
2
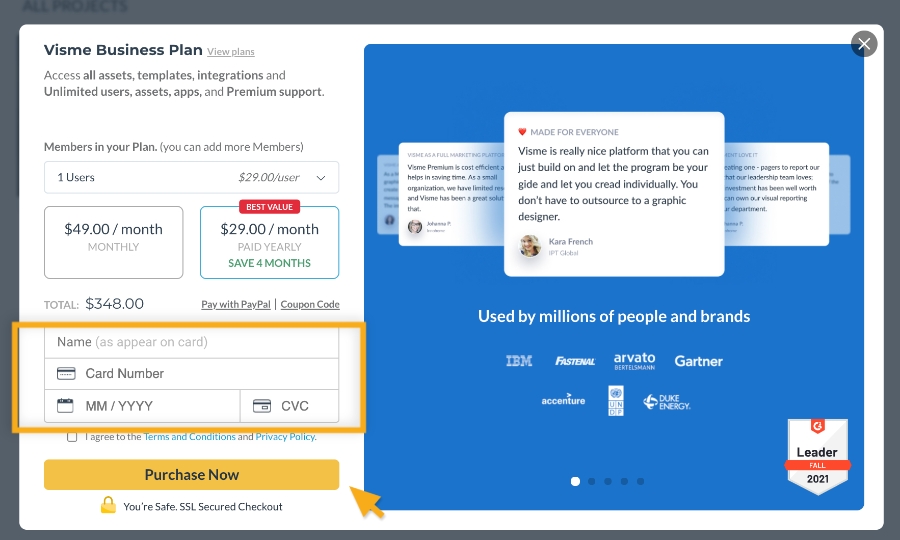
A checkout pop-up will open allowing you to select your Premium Plan and insert your Credit Card Information. Fill out the fields and click on the “Purchase Now” button to upgrade your account.
Note: For more information about Visme workspaces, check out
this resource.
Making Changes To Your Premium Subscription
Workspace Settings allows you to make changes to your existing Premium subscription.
1
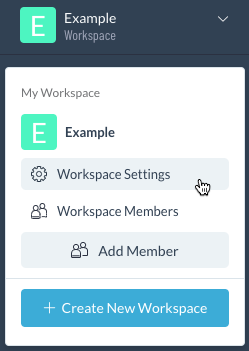
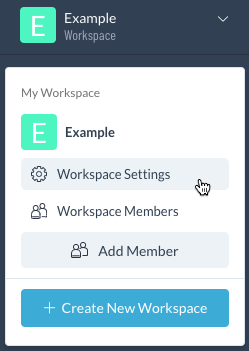
Log into your account and select your Workspace from the top left, then click
Workspace Settings.

From this screen, you can choose to update your billing information, view the expiration date for your subscription, view Payment History, Add Users to your plan, or view information about your plan (see below).
2
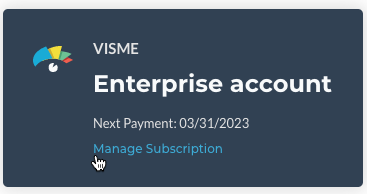
If you select About this plan, this provdes you more information about your subscription and forwards you to Account Settings. To return to Workspace Settings, click Manage Subscription.
3
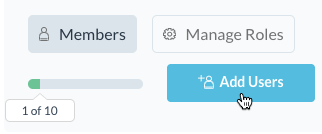
If you select Add Users, this will forward you to Workspace Members, where you have the option to add new users to your account and members to your workspace.
Note: For more information about Visme Workspaces, check out
this resource.
Cancelling Your Premium Subscription
To cancel your premium subscription: Login to your account, navigate to Workspace Settings in the Dashboard, select Cancel Subscription, then follow the steps.

To cancel mobile subscriptions, you will need to log into your account through the Visme desktop app or the web browser.
Note: For more information about what happens after canceling your premium subscription, check out
this resource.


