Learn how Visme will change the way you create stunning content.
Reserve your seat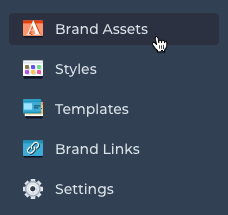
The Brand Assets section of the My Brand area allows you to:
- Set up custom Logos from published Projects in your plan
- Establish a unifying Background for published Projects
- Set Brand Fonts and Colors across all of your Projects
Logos & Background (Published Projects)
1
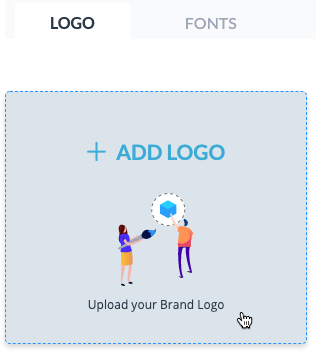
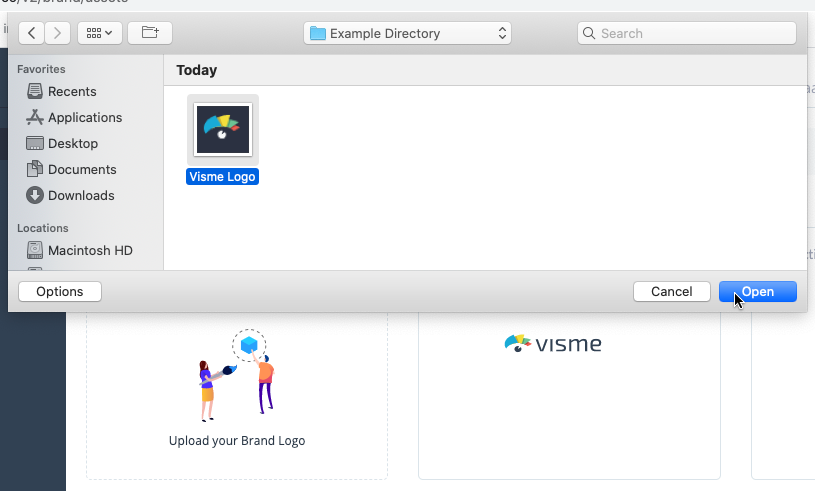
Click +ADD LOGO to upload your brand’s logo.
2
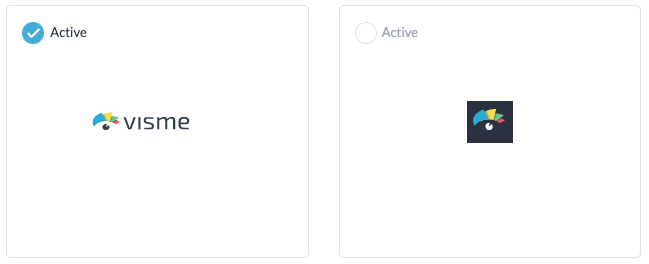
Once uploaded, you can set all of your logos to either Active or Inactive by clicking the corresponding checkmark.
3
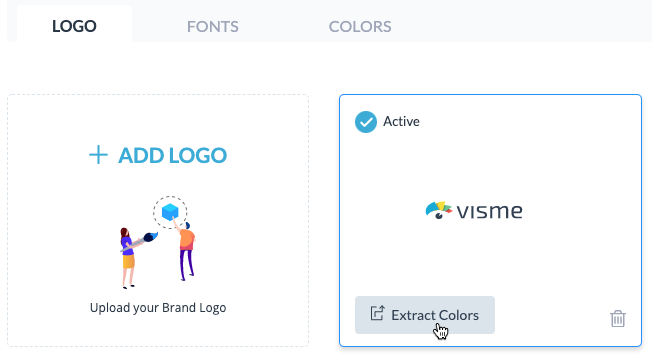
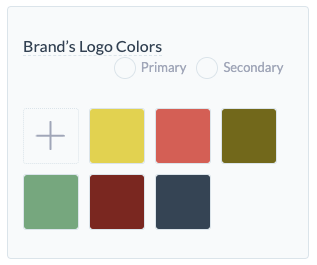
You can also Extract the colors from your Logos with a single click! This will create a new palette in the Colors tab of your Brand Settings.
4
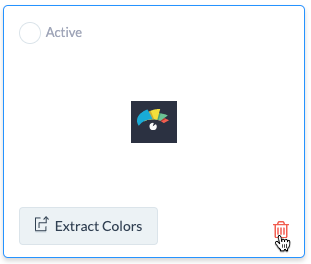
If you’d like to remove a previously uploaded logo, click the Trash icon.
5
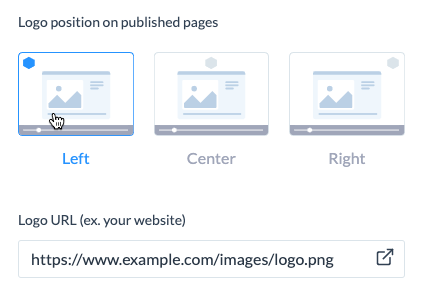
You can set the position of your brand logo on the published pages of your Projects as Left, Center, or Right. You can also set the URL for the logo, and preview the link’s target in a New Tab by clicking the <Placeholder for Google Drive Image/GIF>icon.
6
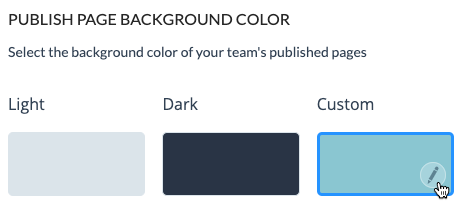
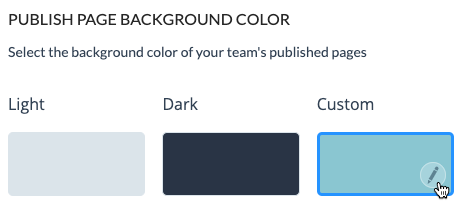
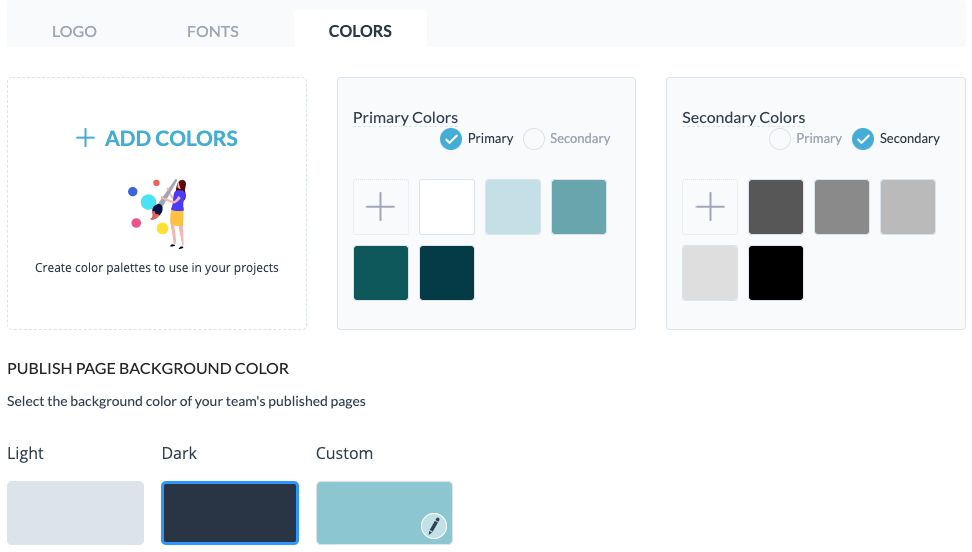
In the Colors tab, you can designate the Background Color of the published Projects as Light, Dark, or Custom. To edit your custom Background Color, select it and click the Pencil icon.
Note: You will add your company’s logos for your team to use within the My Files area of the Editor. You can nicely organize them within folders as well to help your team locate them quickly.
Fonts
1
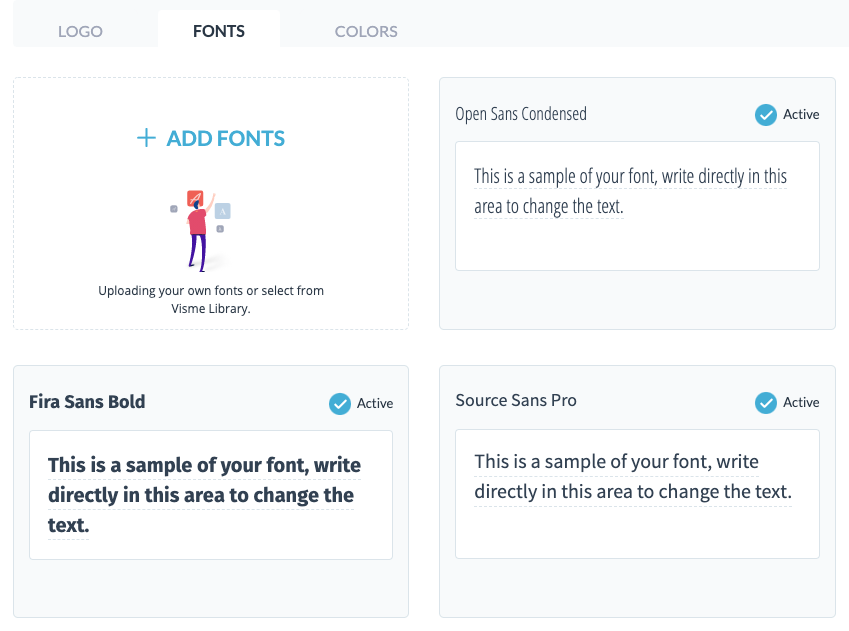
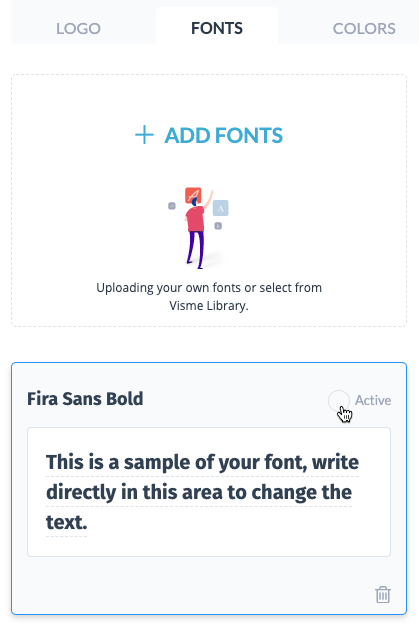
Click the Fonts tab of Brand Assets to view your brand fonts. Click + ADD FONTS to add fonts to your brand.
2
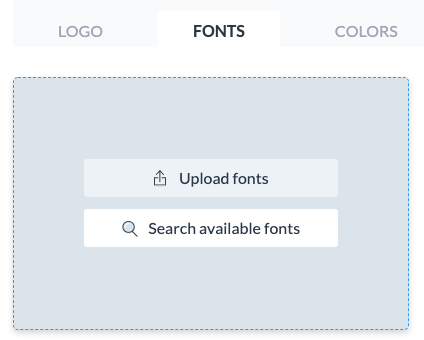
When adding new brand fonts, you can Search the available fonts in Visme’s library, or Upload your own TTF, OTF, or WOFF files.
3
When searching Visme’s font library, scroll to select the font you want to add to your brand, then click Add. The font will appear in the window as an added brand font.
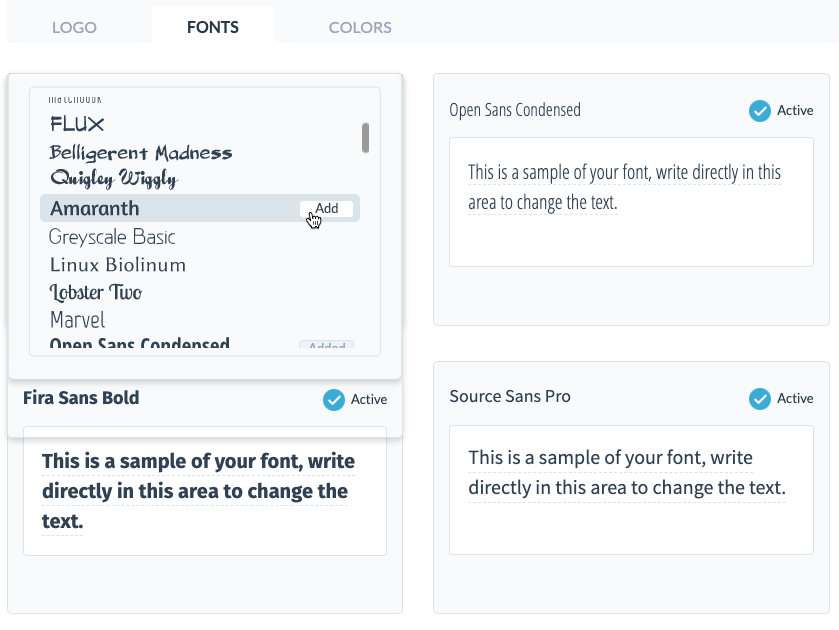
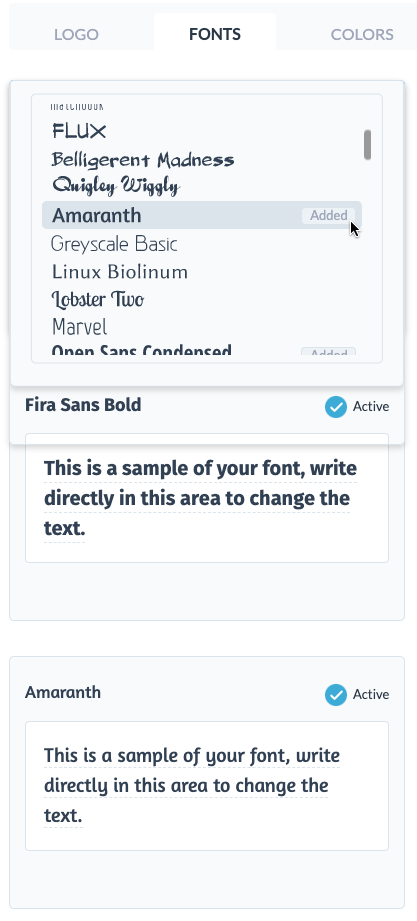
4
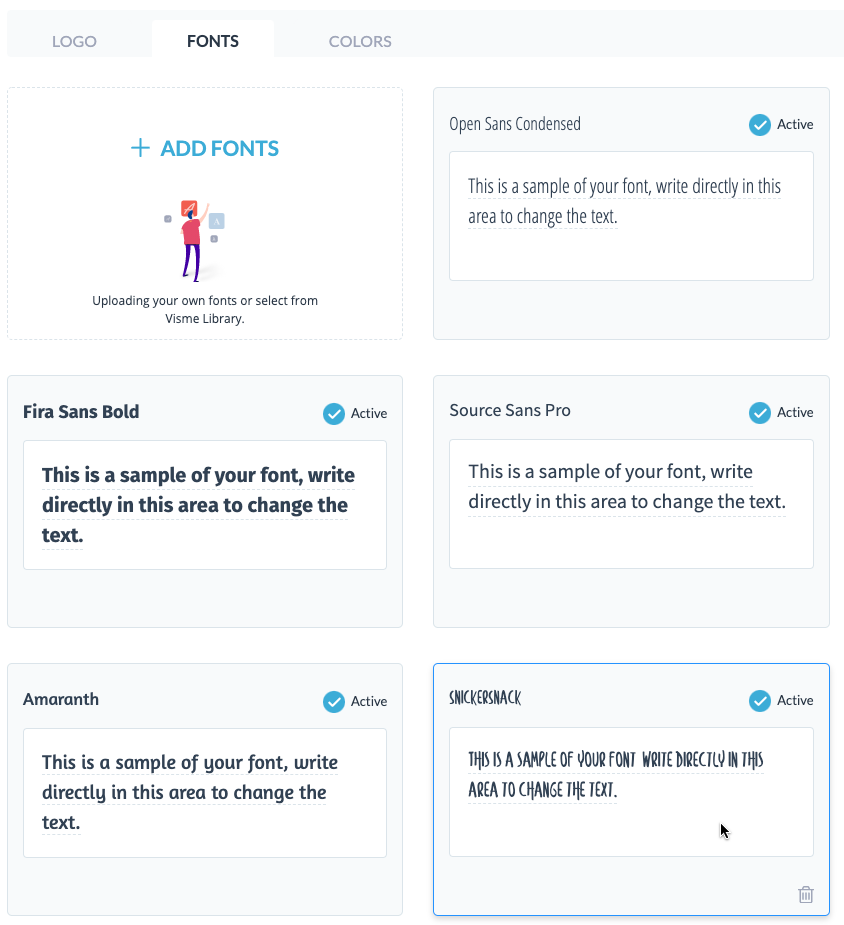
To upload your own custom TTF, OTF, or WOFF font file, click Upload fonts and select the file from your local folders. The custom font will appear in the window as an added brand font.
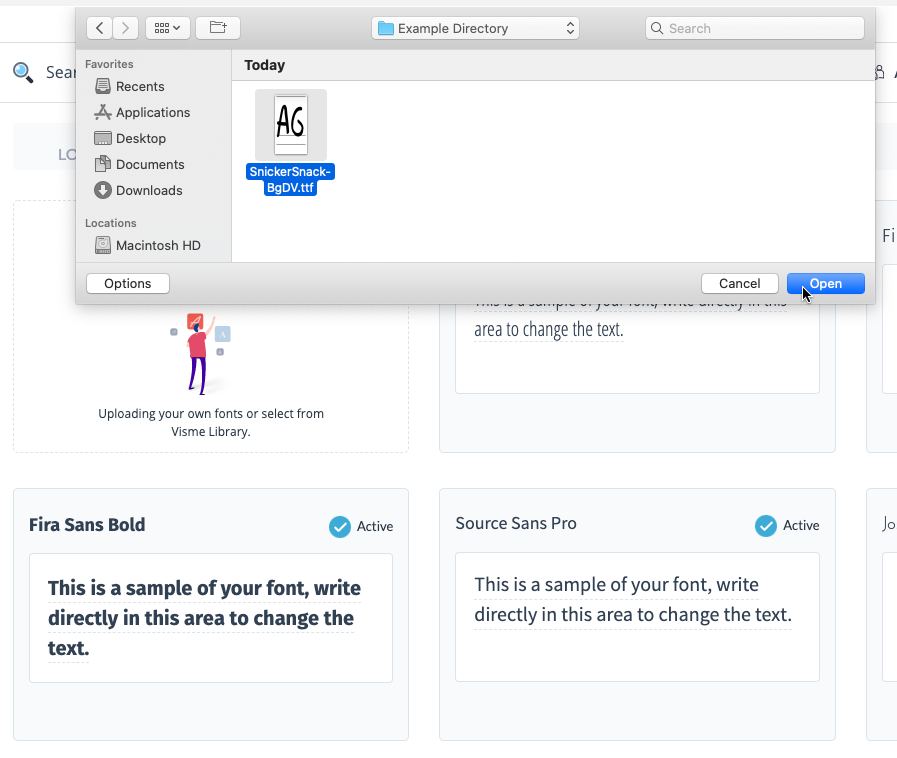
5
Added brand fonts are set to Active by default. To set any added fonts as inactive without removing theme, click the Active checkmark and it will grey out. To fully remove an added font, click the Trash icon.
Colors
1
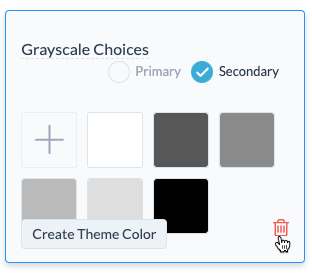
The Colors tab of Brand Assets allows you to add new brand Palettes, and set them as Primary or Secondary.
If you chose to Extract your brand’s logo colors earlier in the Logo tab, they will appear here as a custom palette.
2
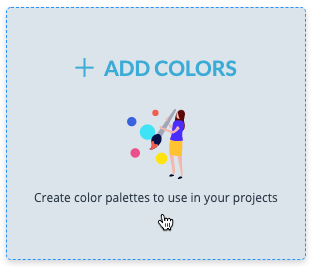
To create a new palette for your brand, click +ADD COLORS. You can add up to 8 (eight) colors to any palette.
3
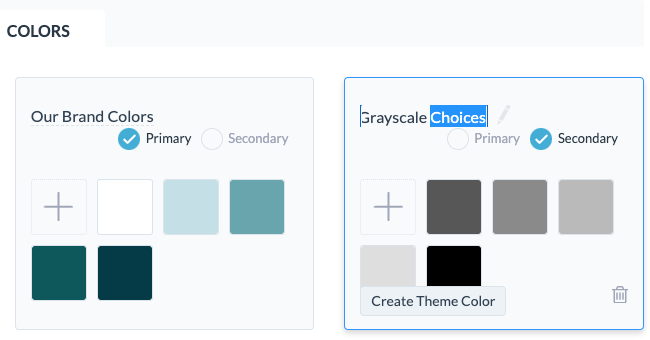
All of your added palettes can be easily renamed by clicking on their title.
4
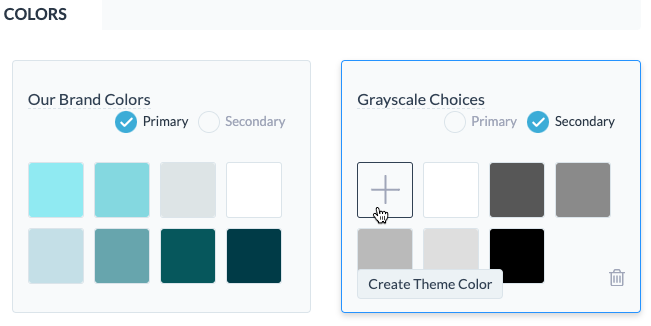
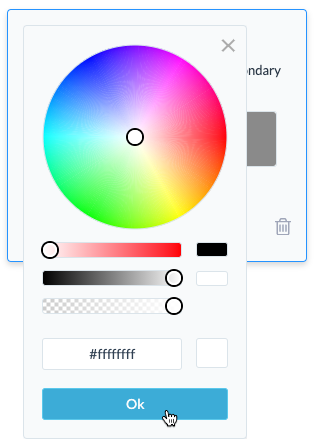
To add a color to a palette, click the Plus button. You can then use the color wheel to select your hue, the gradient slider, opacity slider, or enter a custom hex value.
5
You can easily designate any added palettes as Primary or Secondary colors by clicking the corresponding checkmark.
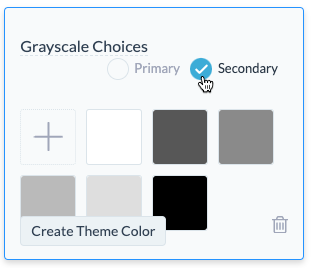
Note: In the Editor window of your project, when you’re editing an object’s color, these primary and secondary colors will be ordered top-to-bottom according to what you designate in Brand Assets.
6
To create a new Theme Color from your brand palette, select it and click Create Theme Color.
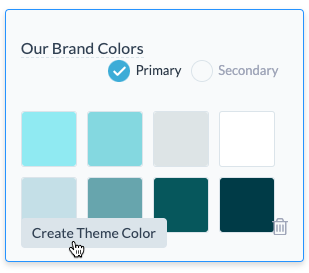
Note: For more information on creating custom Theme Colors, check out this resource.
7
To remove any added color brand palette, select it and click the Trash icon.
