The Object List is a very helpful feature for organizing all of the design elements (or layers) of your Project, as well as setting Actions to them, arranging them, and customizing their individual animations.
1
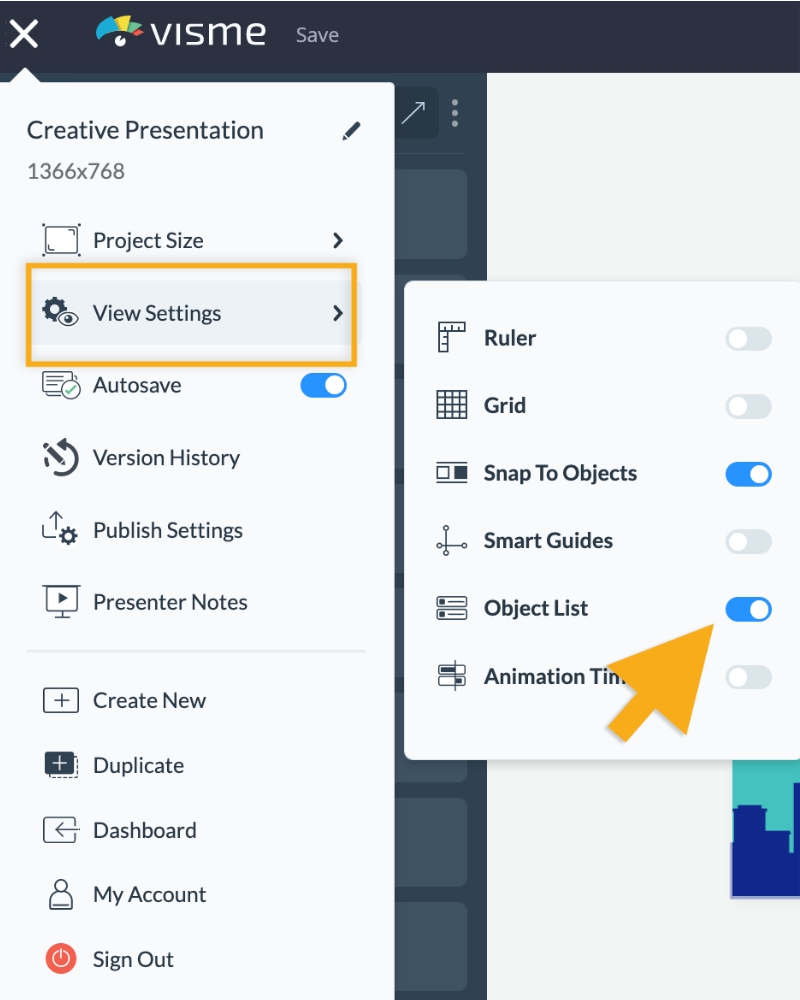
Inside the Editor of your Project, click menu icon located at the top left corner and select View Settings. From there, turn the “Objects List” switch ON.

2
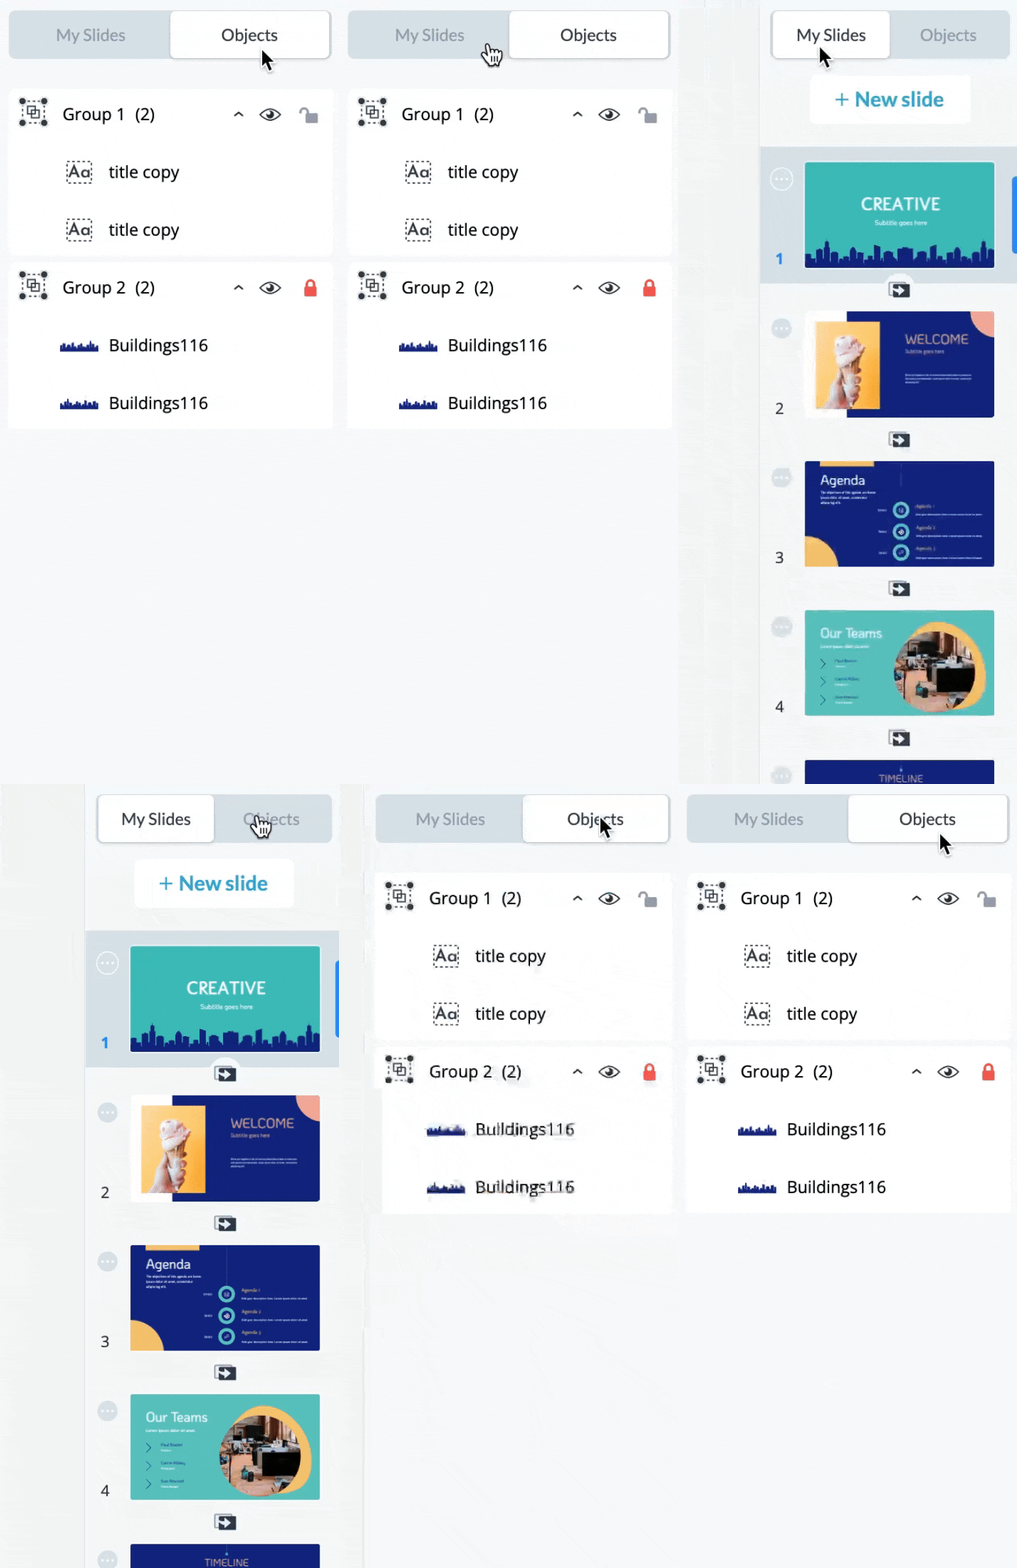
For most Presentations and other format types that have multiple slides/pages, you’ll be able to switch back and forth from
My Slides to
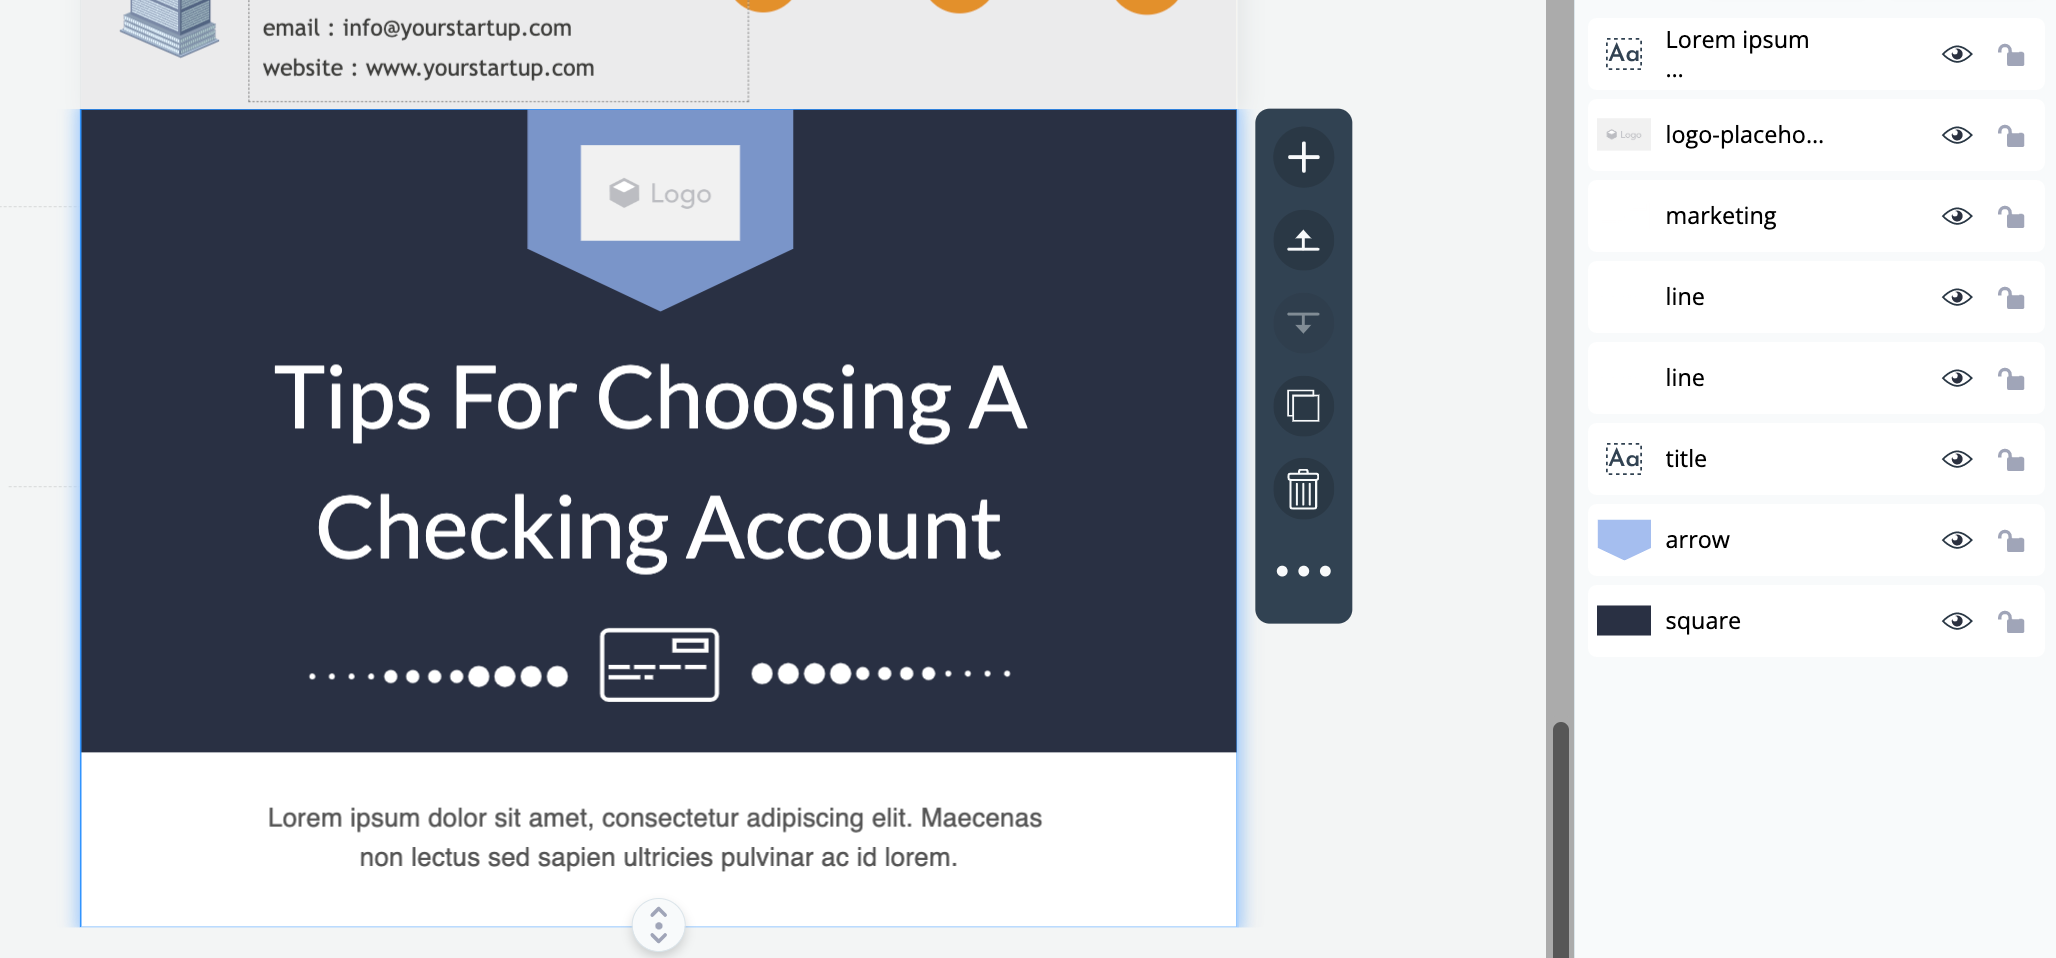
Objects by using the tabs at the top. For Infographics (which use blocks), the objects list loads according to the
infographic block you have selected.


Note:
Grouped objects in your slide will appear together in the list.
On the left side of the list, there are small icons which will show you a small visual thumbnail of what the object’s type is (text, graphic, shape, image, etc). Selecting object(s) in the list will also highlight them in the Editor window of your Project
3
You can select the show/hide to Show or Hide an object or object group, and also use the Lock icon to keep an object or group of objects from being moved or modified.


4
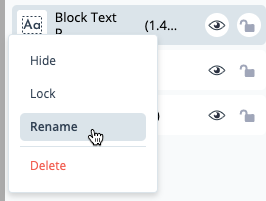
To better organize and edit your overall design, choose names for your objects that make them easily identifiable. Select the object(s) you wish to rename from the list and right-click (ctrl+click on Mac), then click Rename. You can also update the object name by double-clicking on it. The name field will be selected by default for you to type in the new name. When finished, press Enter/Return on your keyboard.

Optimize accessibility by adding meaningful Alt Tags to your images, ensuring that your content is inclusive.
What are Alt Tags?
Alt tags, short for “alternative text,” are descriptions added to images to help people who use screen readers understand what the image is picturing or about, as screen readers can’t interpret images. Including alt tags helps to improve the accessibility of your content, providing a better experience for everyone.
5
Another useful feature of renaming your objects in the list is to make it easier to identify them in the
Animation Timeline. You can open the
Timeline by turning the
SHOW switch at the bottom of the Objects List window
ON.

6
You can hide the Objects list by navigating back to the menu icon on the top left of the Editor window, and turn the “Objects List” switch OFF.


![]()
![]()


