Learn how Visme will change the way you create stunning content.
Reserve your seatWhether you want to communicate and share your work effectively with your colleagues or give a speech, you would want to deliver an unforgettable presentation that blows your audience away. We have a lot of professional, beautifully designed presentation templates that are very easy-to-edit.
1
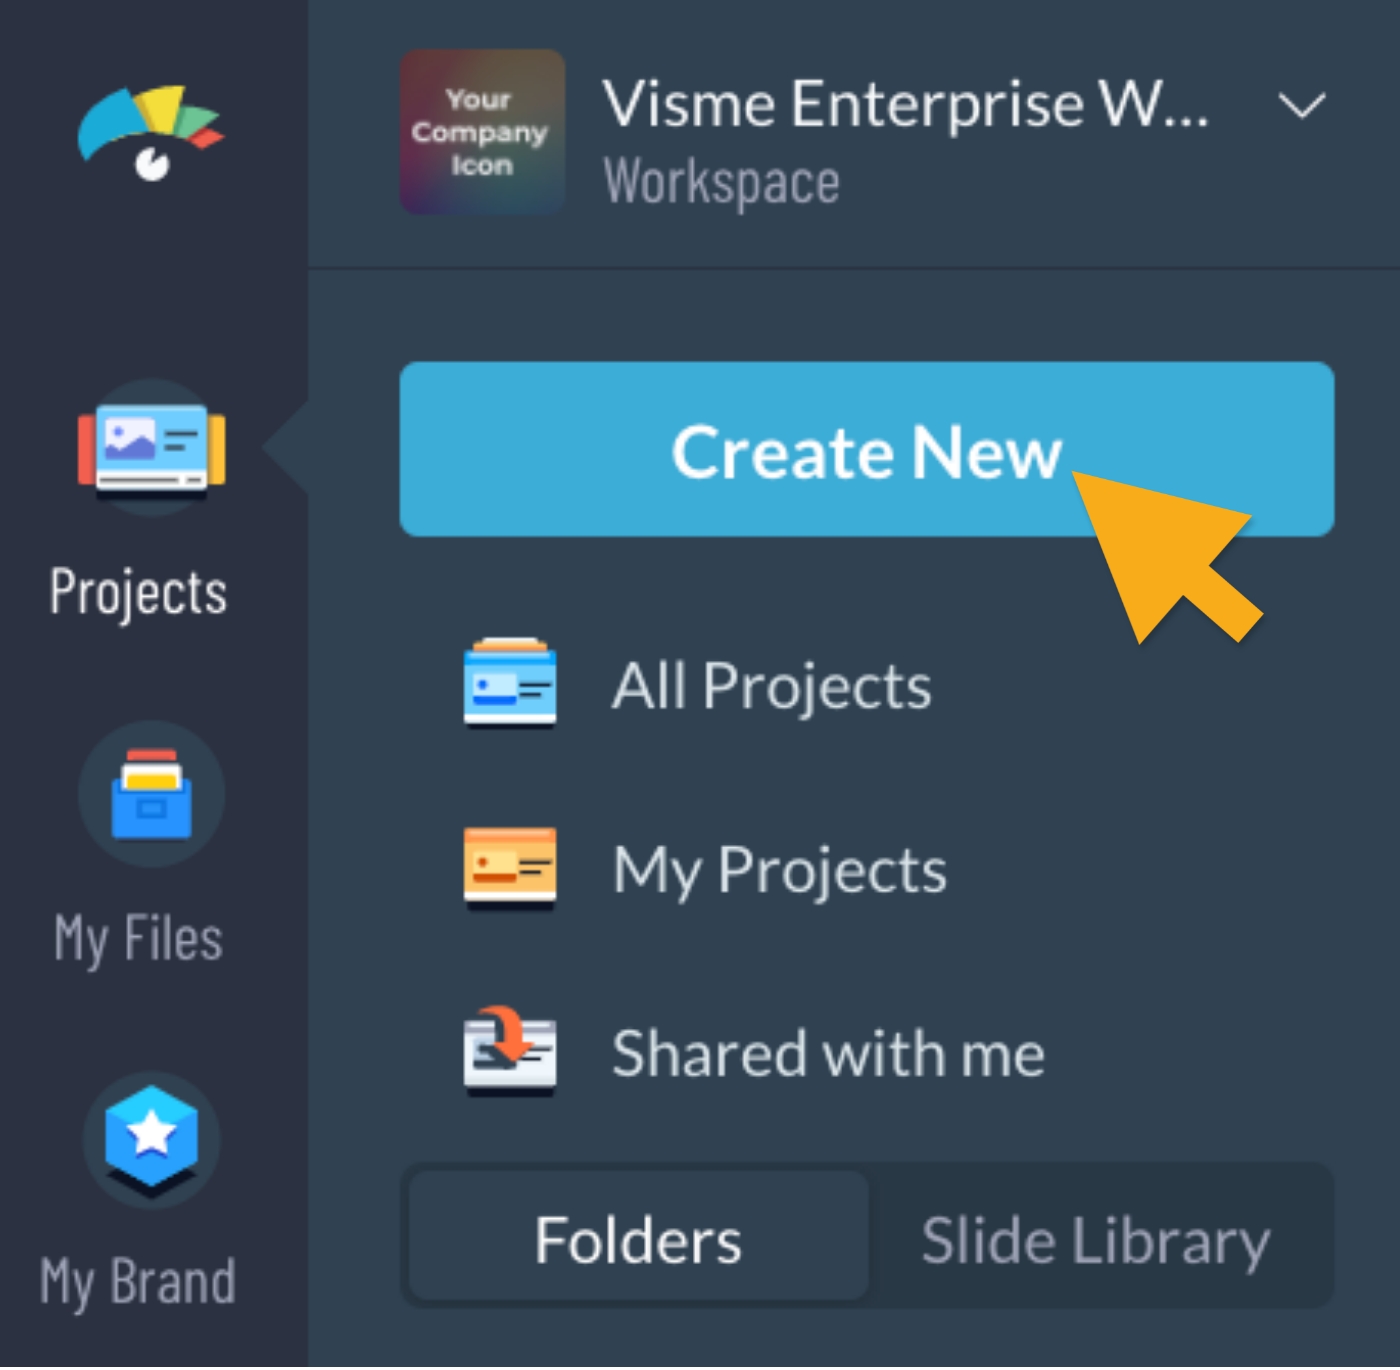
To start, login to your Visme account. At the top left of your dashboard, click on the “Create New” button.
2
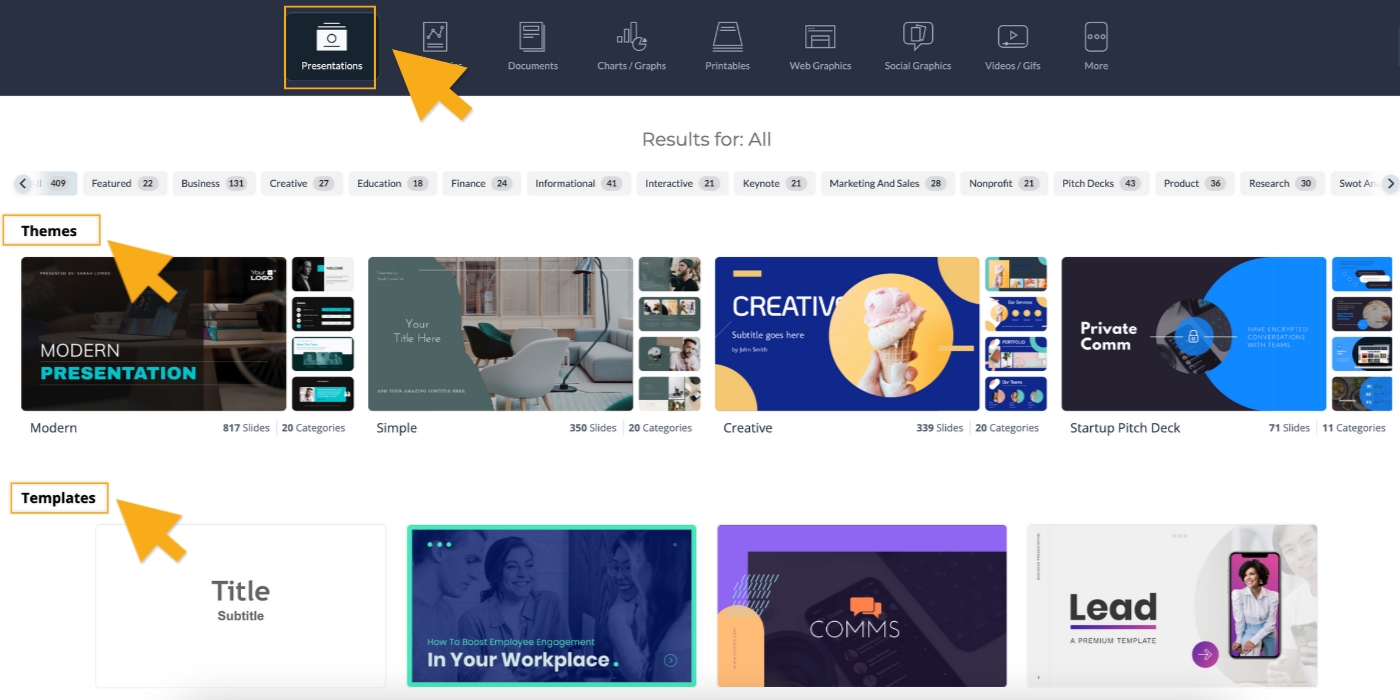
Click on Presentations, and under it, there are vast library of ready-to-use slides for you to choose from.
Visme has four styles templates with over 400+ slides each: Simple, Modern, Creative and Startup Pitch Deck as well as 800+ existing Templates with different theme designs.
3
If you want to add new text to your presentation, click Basics from the left panel. Click Header & Text and in that drop-down, there are many styles of text blocks you can use.
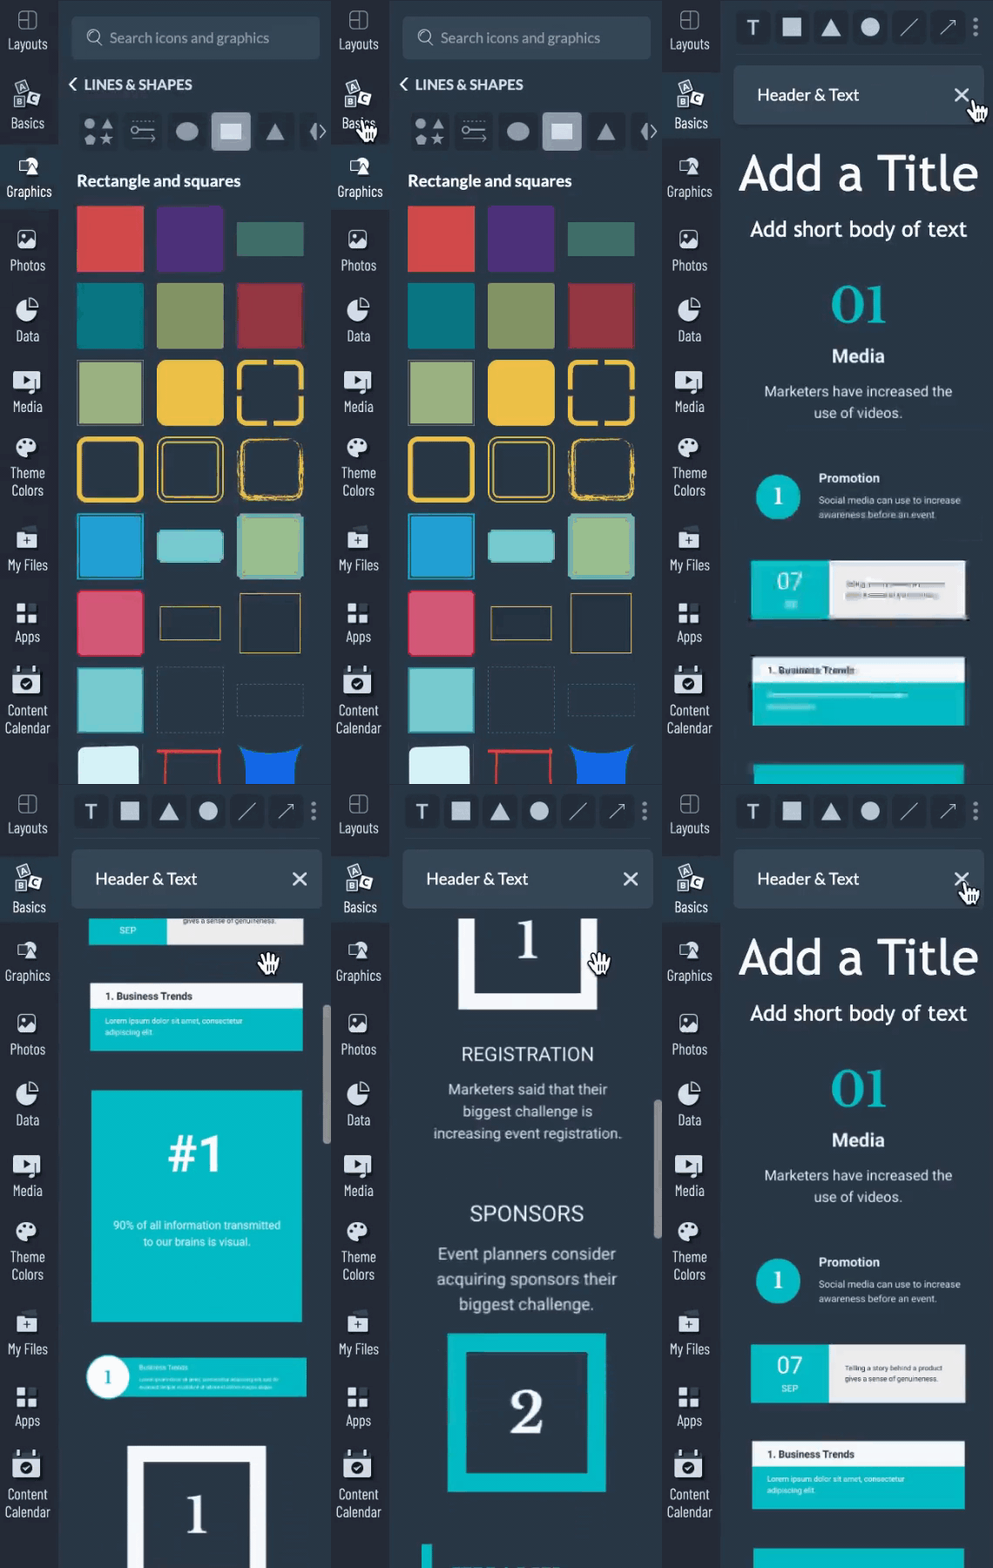
Tip: Under Basic Header & Text tab, you can use “Add a Title” or “Add short body of text” to start your basic presentation.
Tip: My Content tab is your own custom blocks that you saved from your previous projects. Click here for more information about saving your content blocks.
4
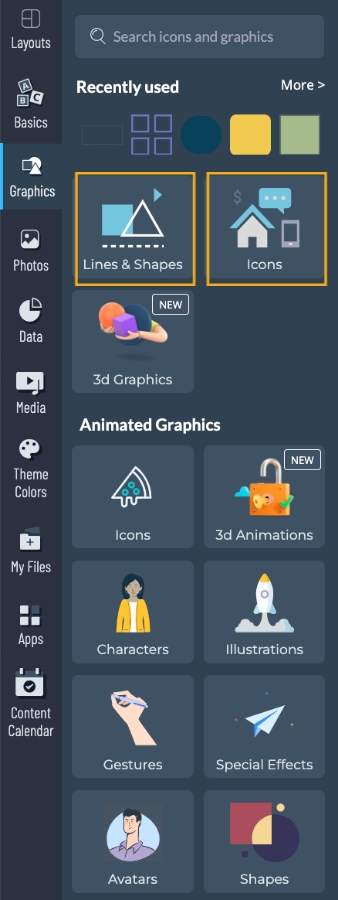
If you want to add icons and shapes in your presentation, click Graphics from the left panel. Under Graphics tab, you can select Icons or Shapes category depending on what you want to insert into your canvas. You will see many categories of icons and shapes you can use for your presentation.
5
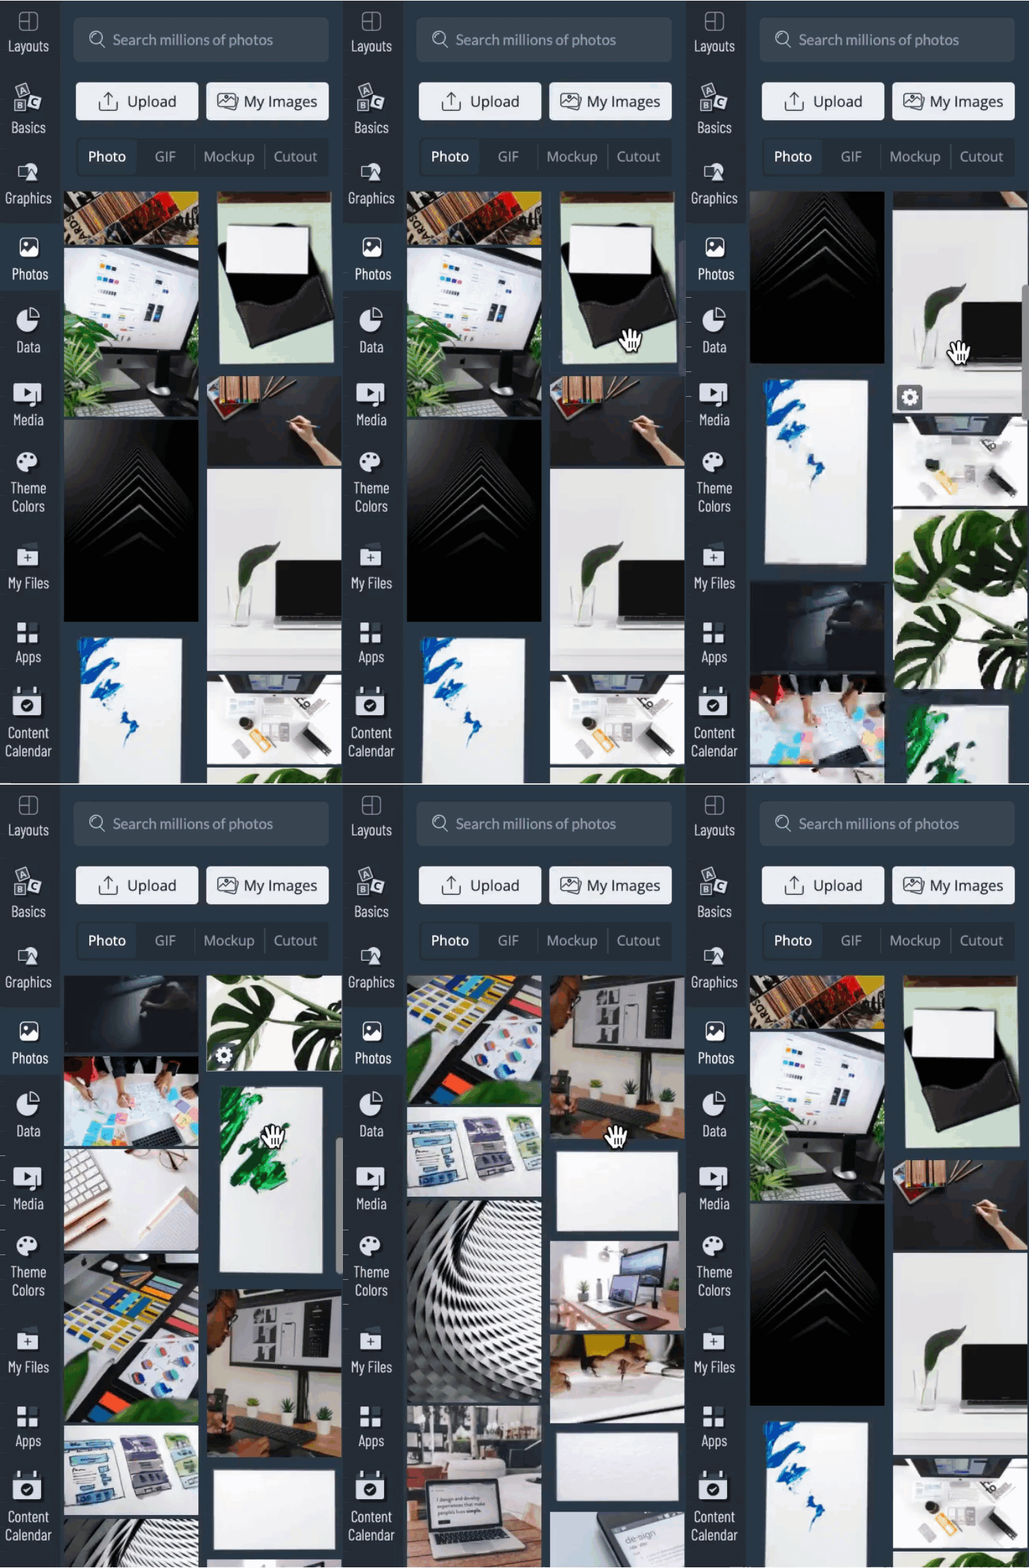
Under Photos tab, you can either upload images from your computer or choose images from our free photo library.
6
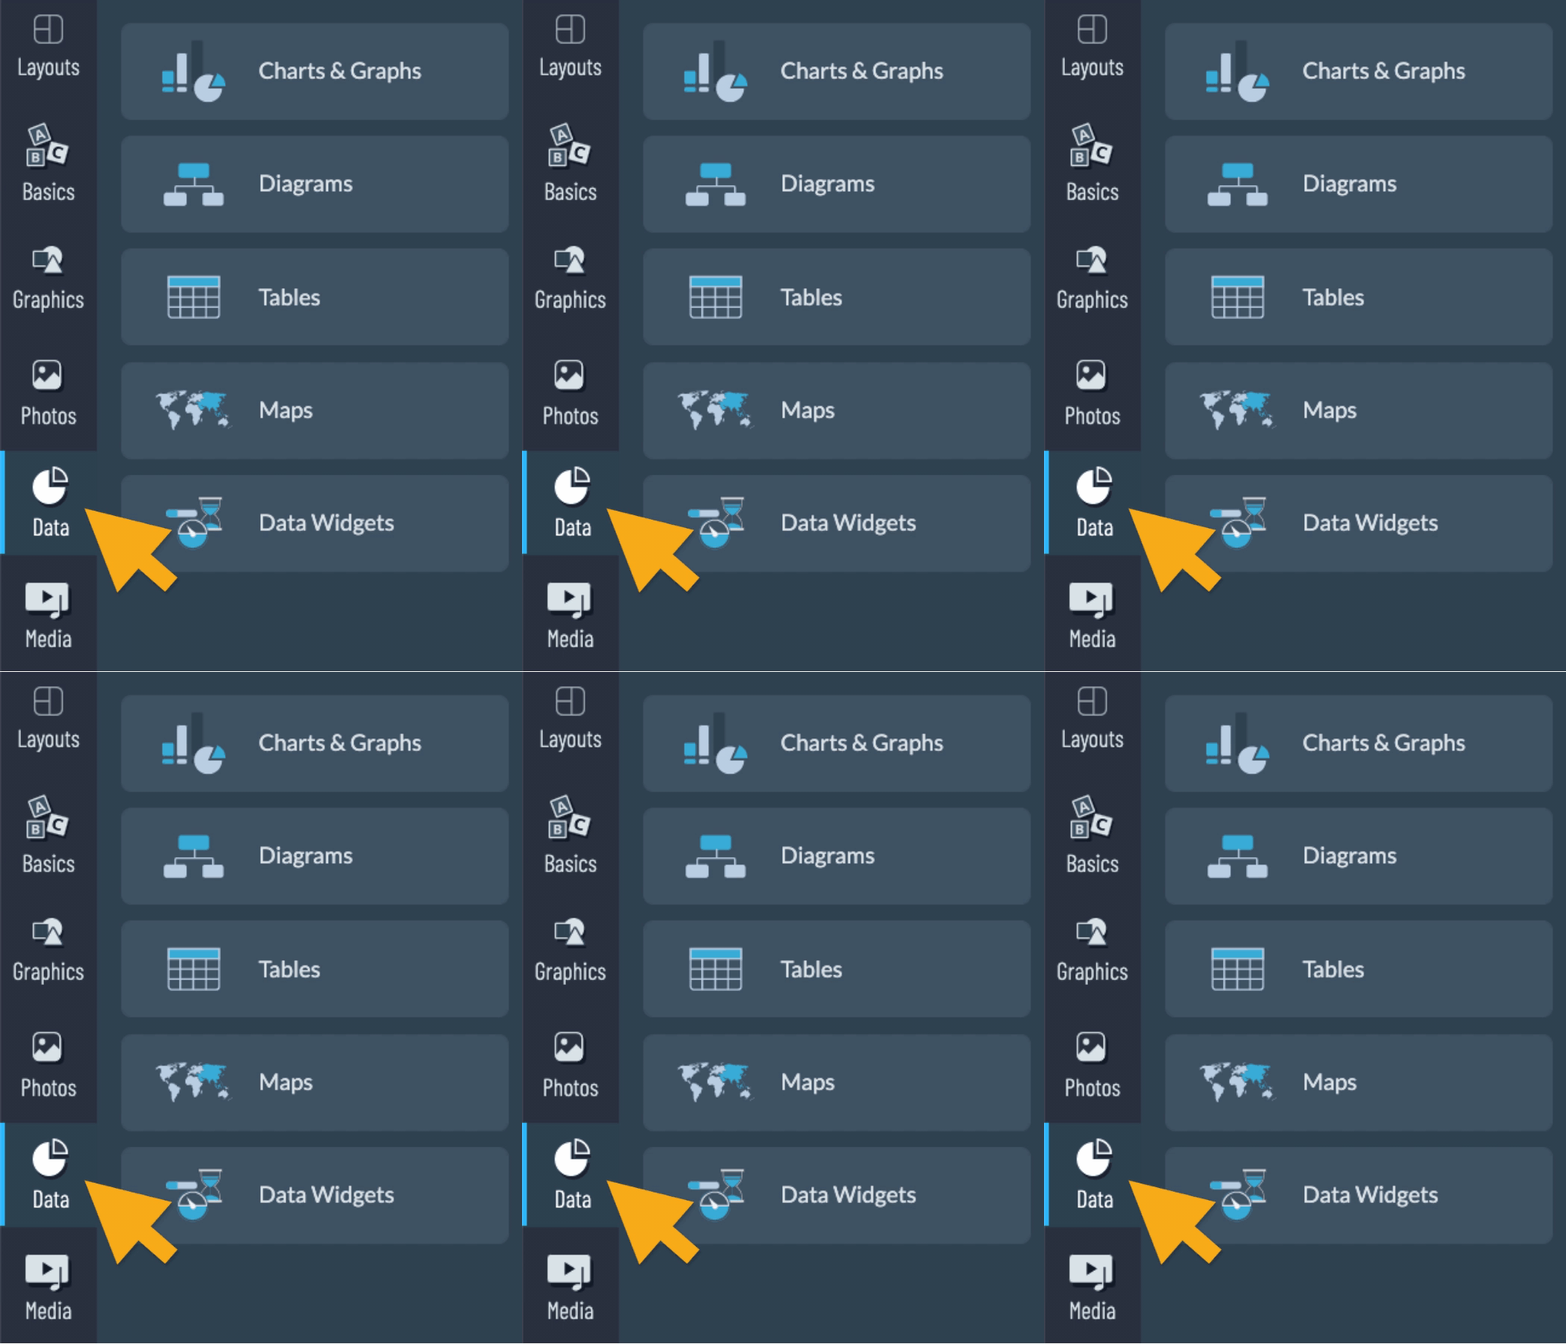
When you click on Data from the left panel, you can add Charts, Tables, Maps, or even Widgets.
7
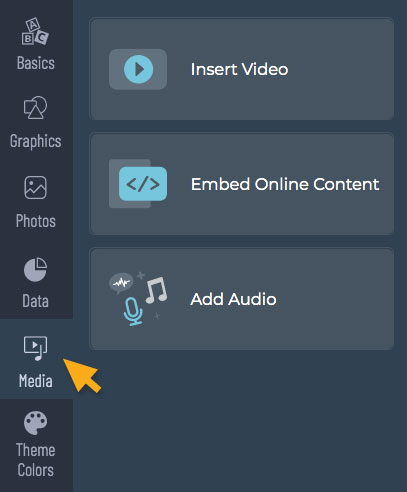
When you click on Media from the left panel, you can Insert Video, Add Audio, Record Audio, and Embed Online Content.
8
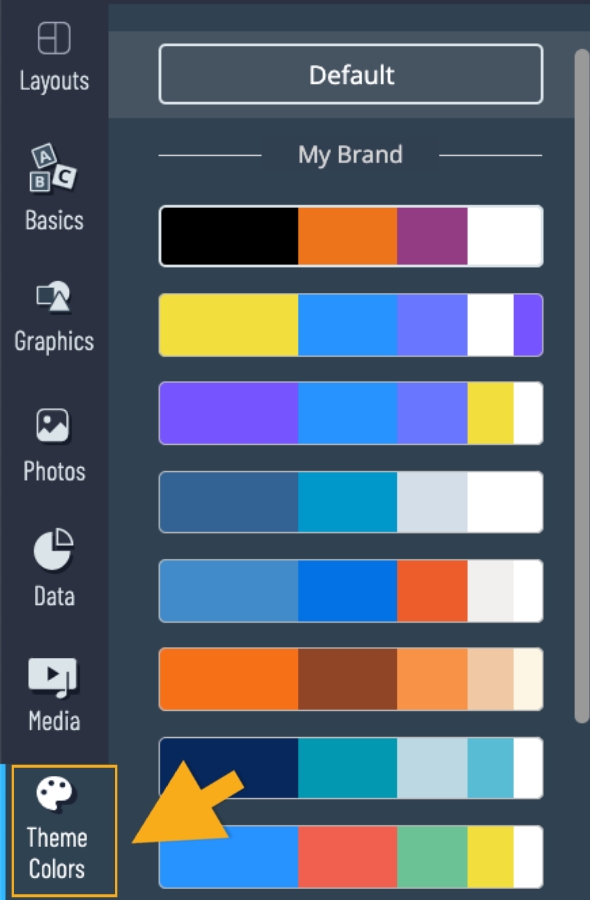
In Theme Colors from the left panel, you are able to use any theme color for your presentation if you want to. Click Default to go back to your original color.
9
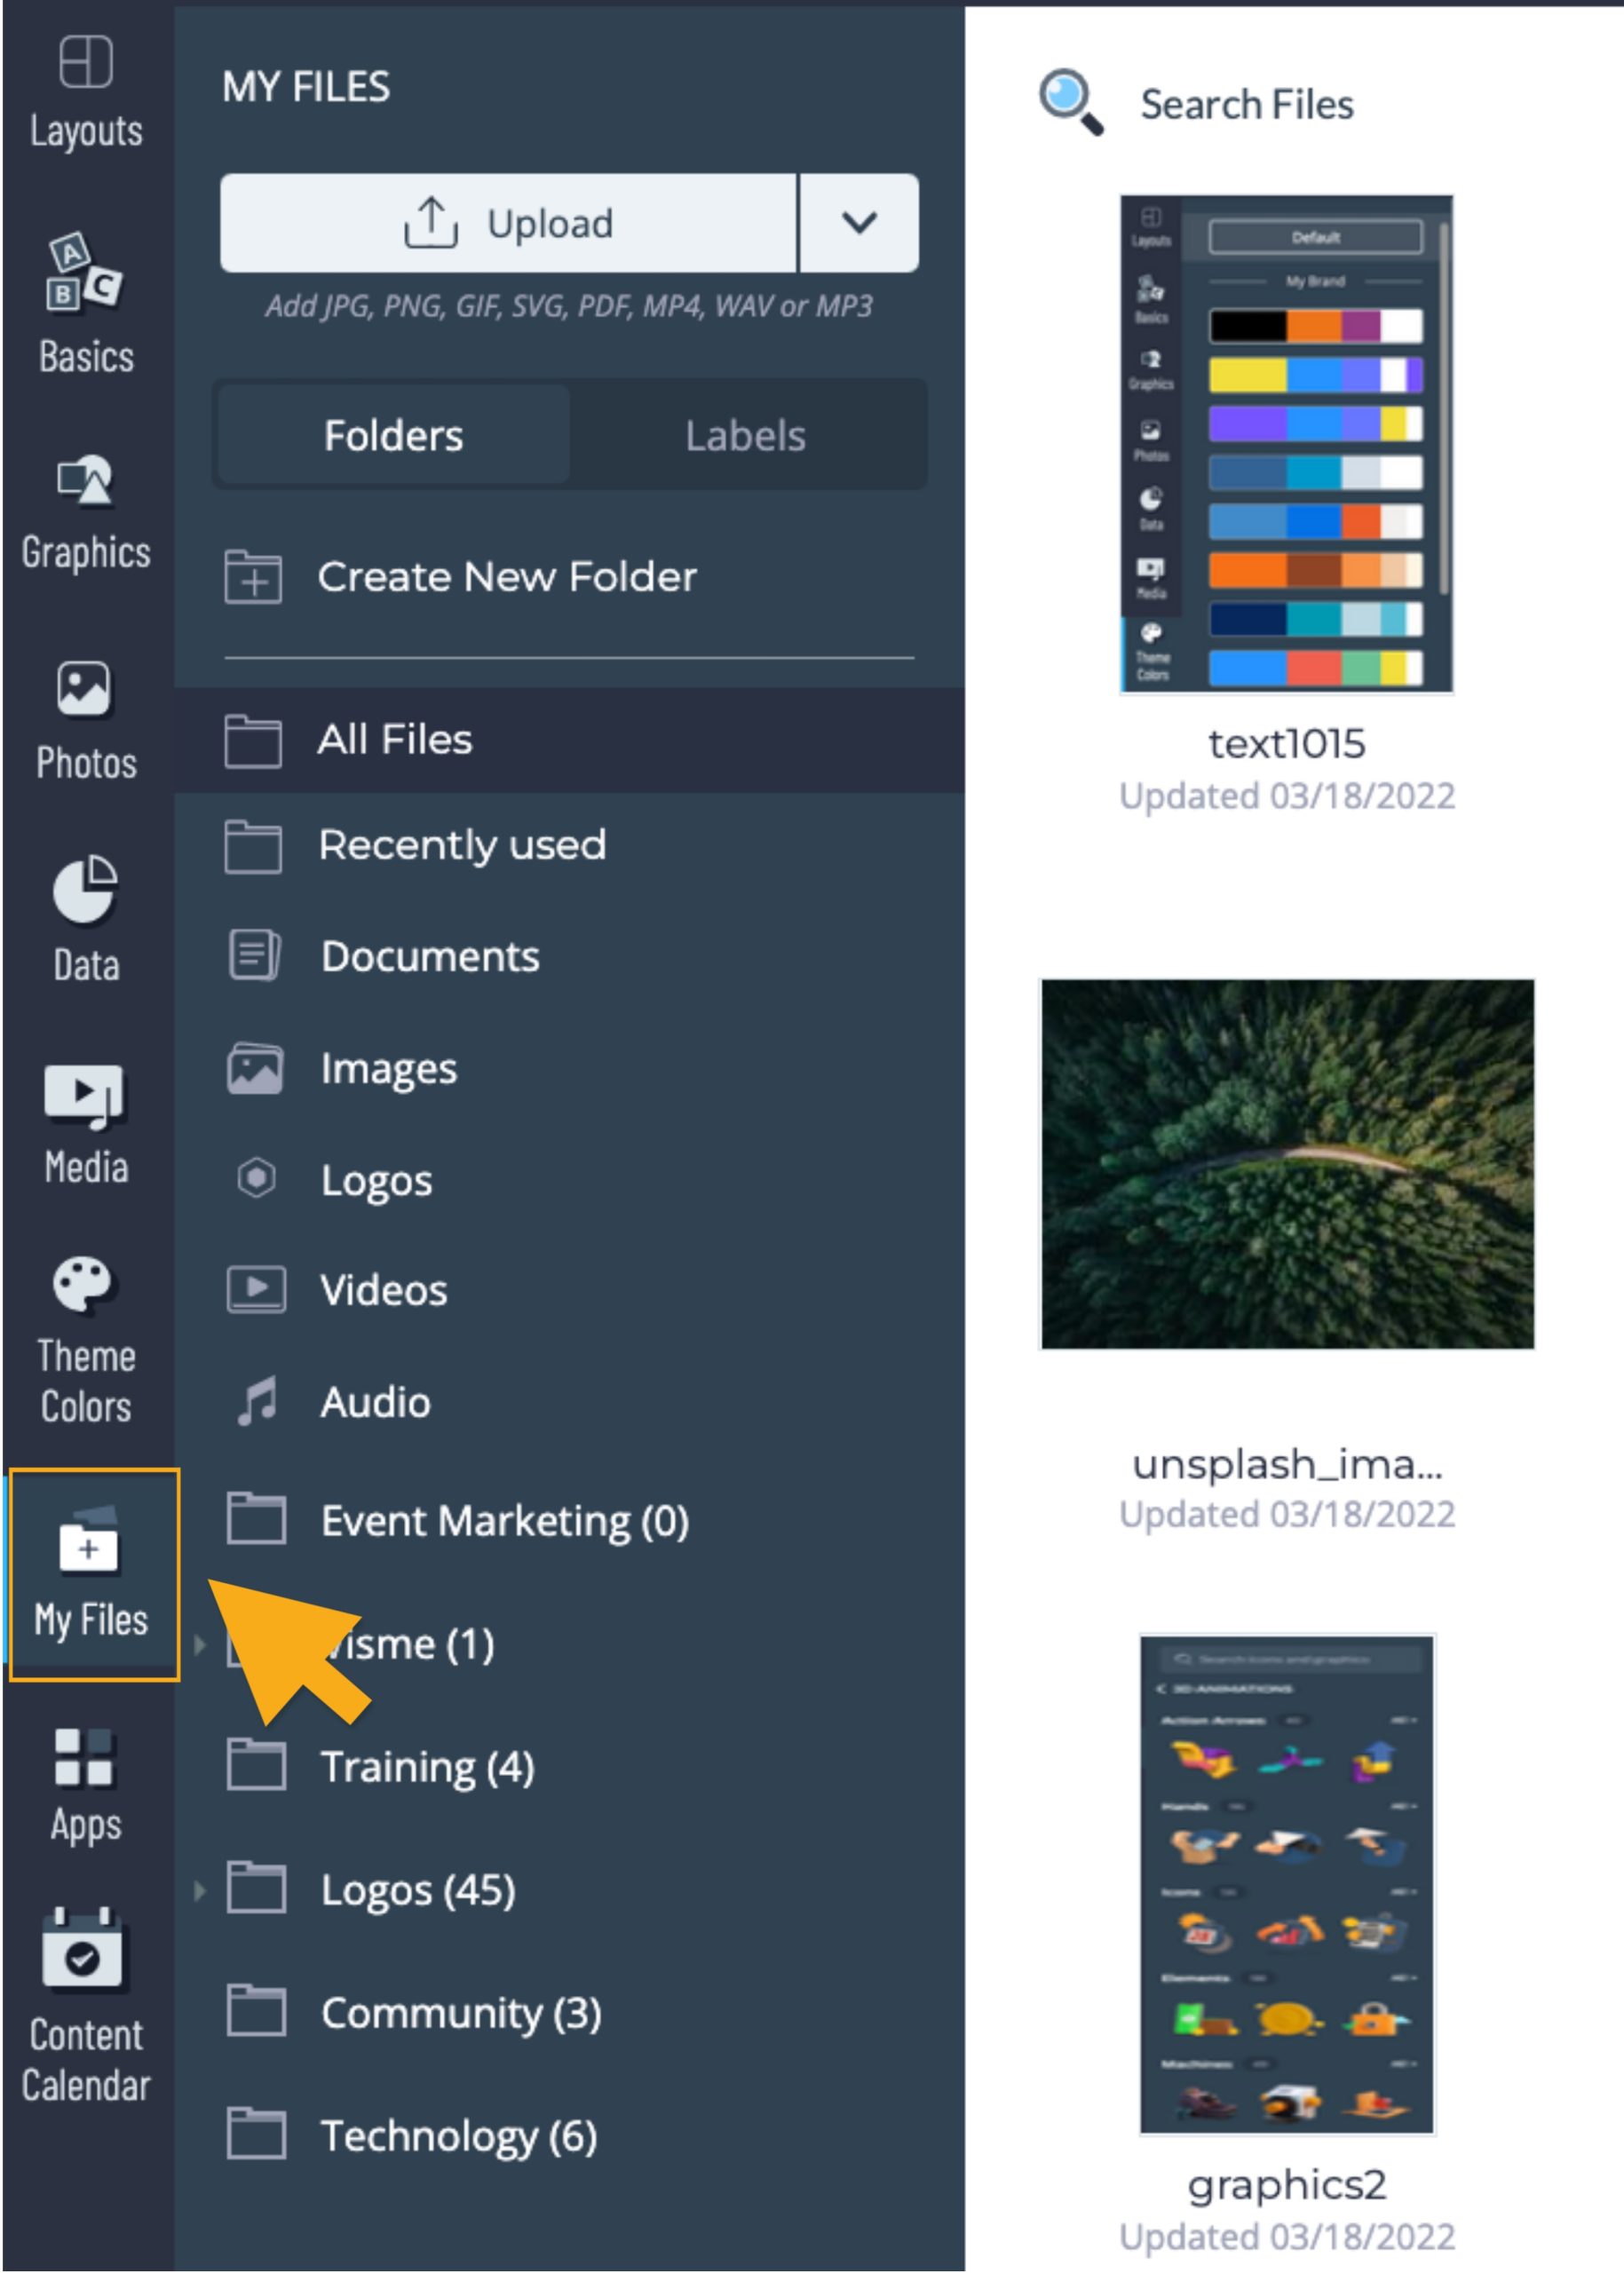
My Files from the left panel saves all of the files including the ones from your previous projects. You can also upload your own files by clicking on Upload at the top left side of the screen.
10
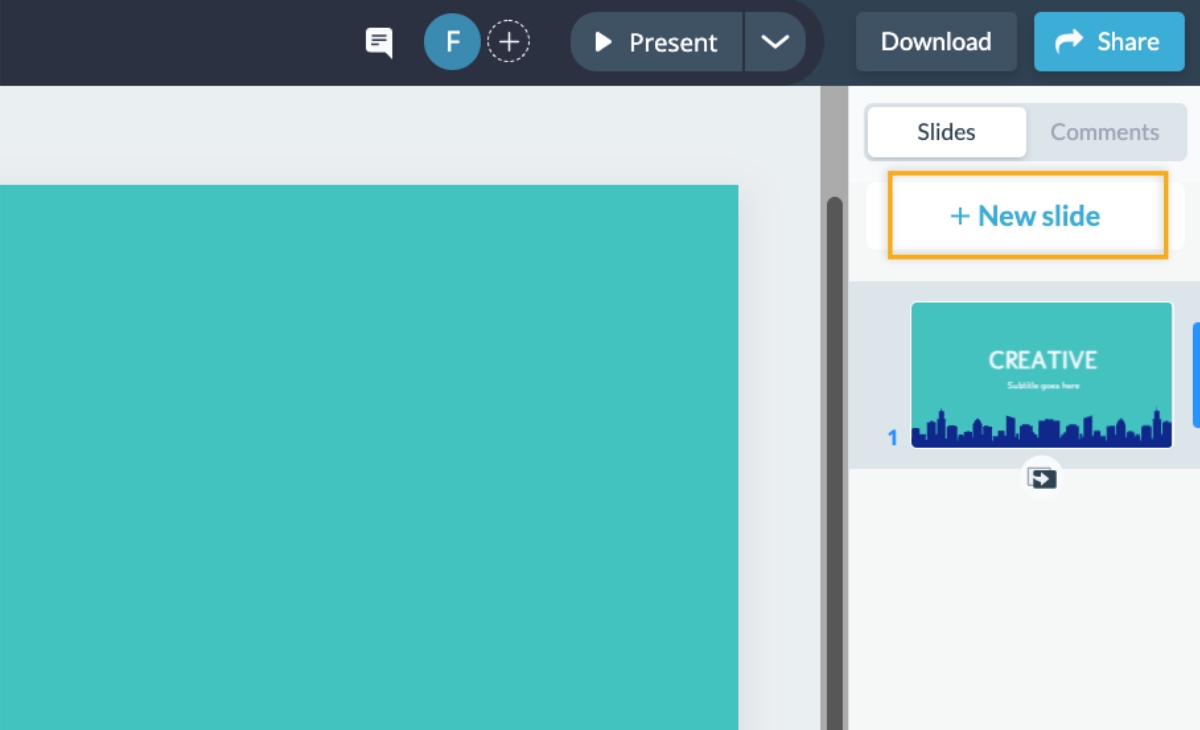
If you wish to add more slides in your presentation, go to Slides on the right panel, click on Add slide.
11
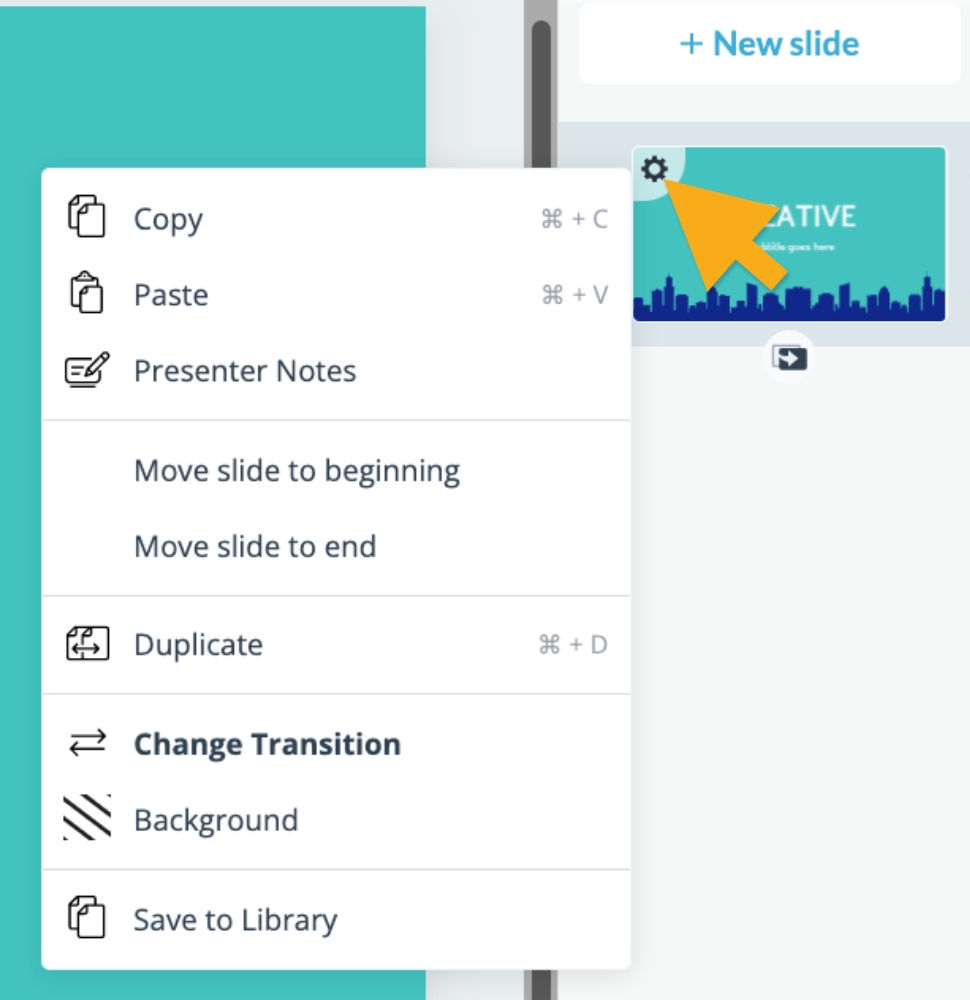
You can edit and organize all of your presentation slides. You can also copy, paste, move slides to beginning, move slides to end, duplicate slides and delete slides in a matter of seconds. In order to do that, select multiples slides at once. Then you right click and choose from the following.
Tip: To apply desired slide transition, click on the gear icon and click Change Transition.
