Learn how Visme will change the way you create stunning content.
Reserve your seatIf you could not find the image you were looking for in our extensive collection of high-resolution photos, there is no problem! Using Visme, you can upload your own images from your PC to create your presentations, infographics, documents, and more in Visme. Here’s how:
When you are uploading your own images make sure:
– Your image format is JPG, PNG SVG and GIFs (We also support animated Gifs)
– Consider file size limits allowed.
– Your image format is JPG, PNG SVG and GIFs (We also support animated Gifs)
– Consider file size limits allowed.
Upload images via Drag-and-drop
1
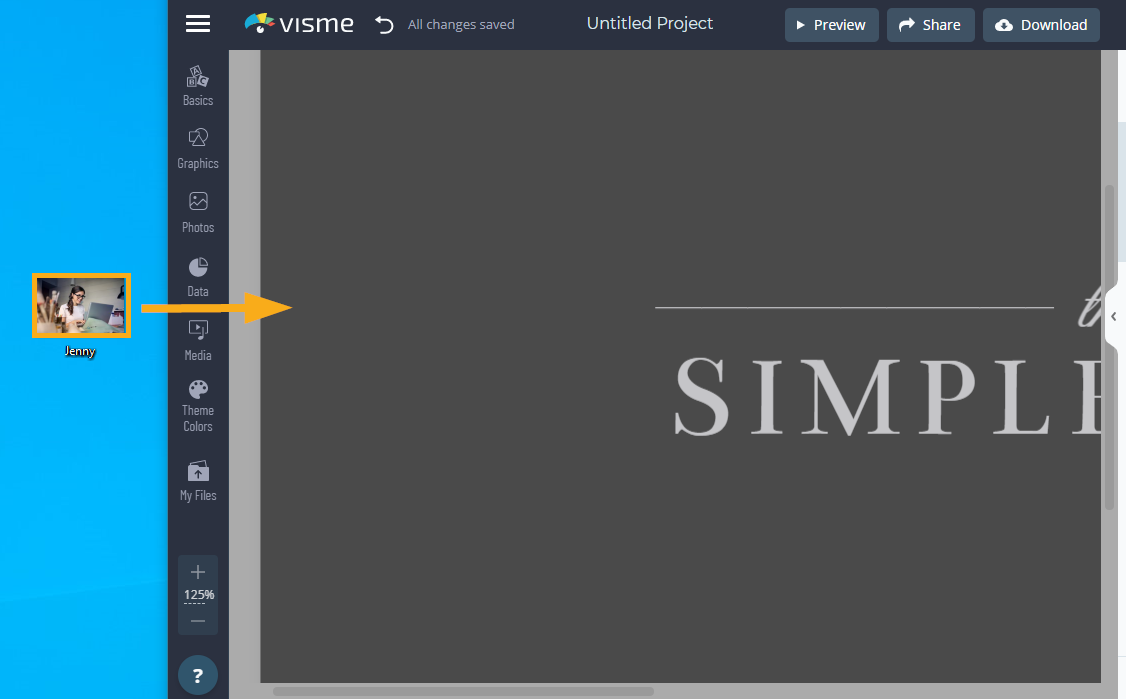
Simply drag and drop your image from your local drive (PC or MAC) directly onto your Visme workspace. This will automatically upload the asset to your project area and store it in your My Files for future access to other projects or slides.

Upload images using the Photos Menu.
1
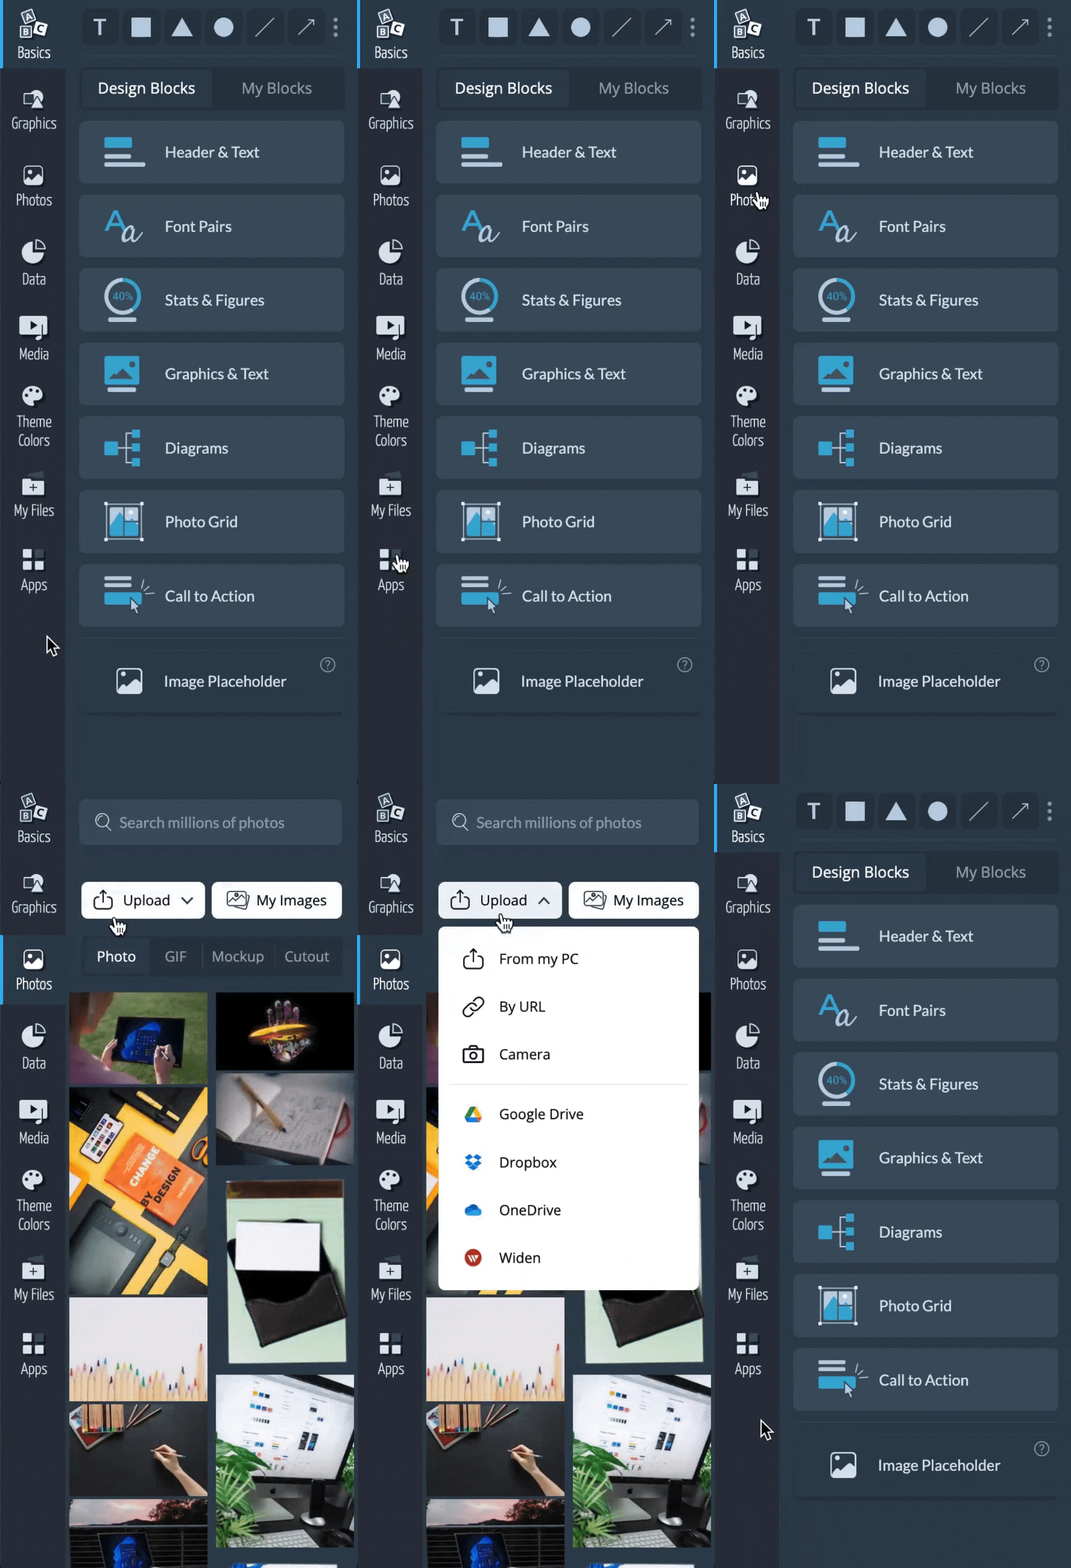
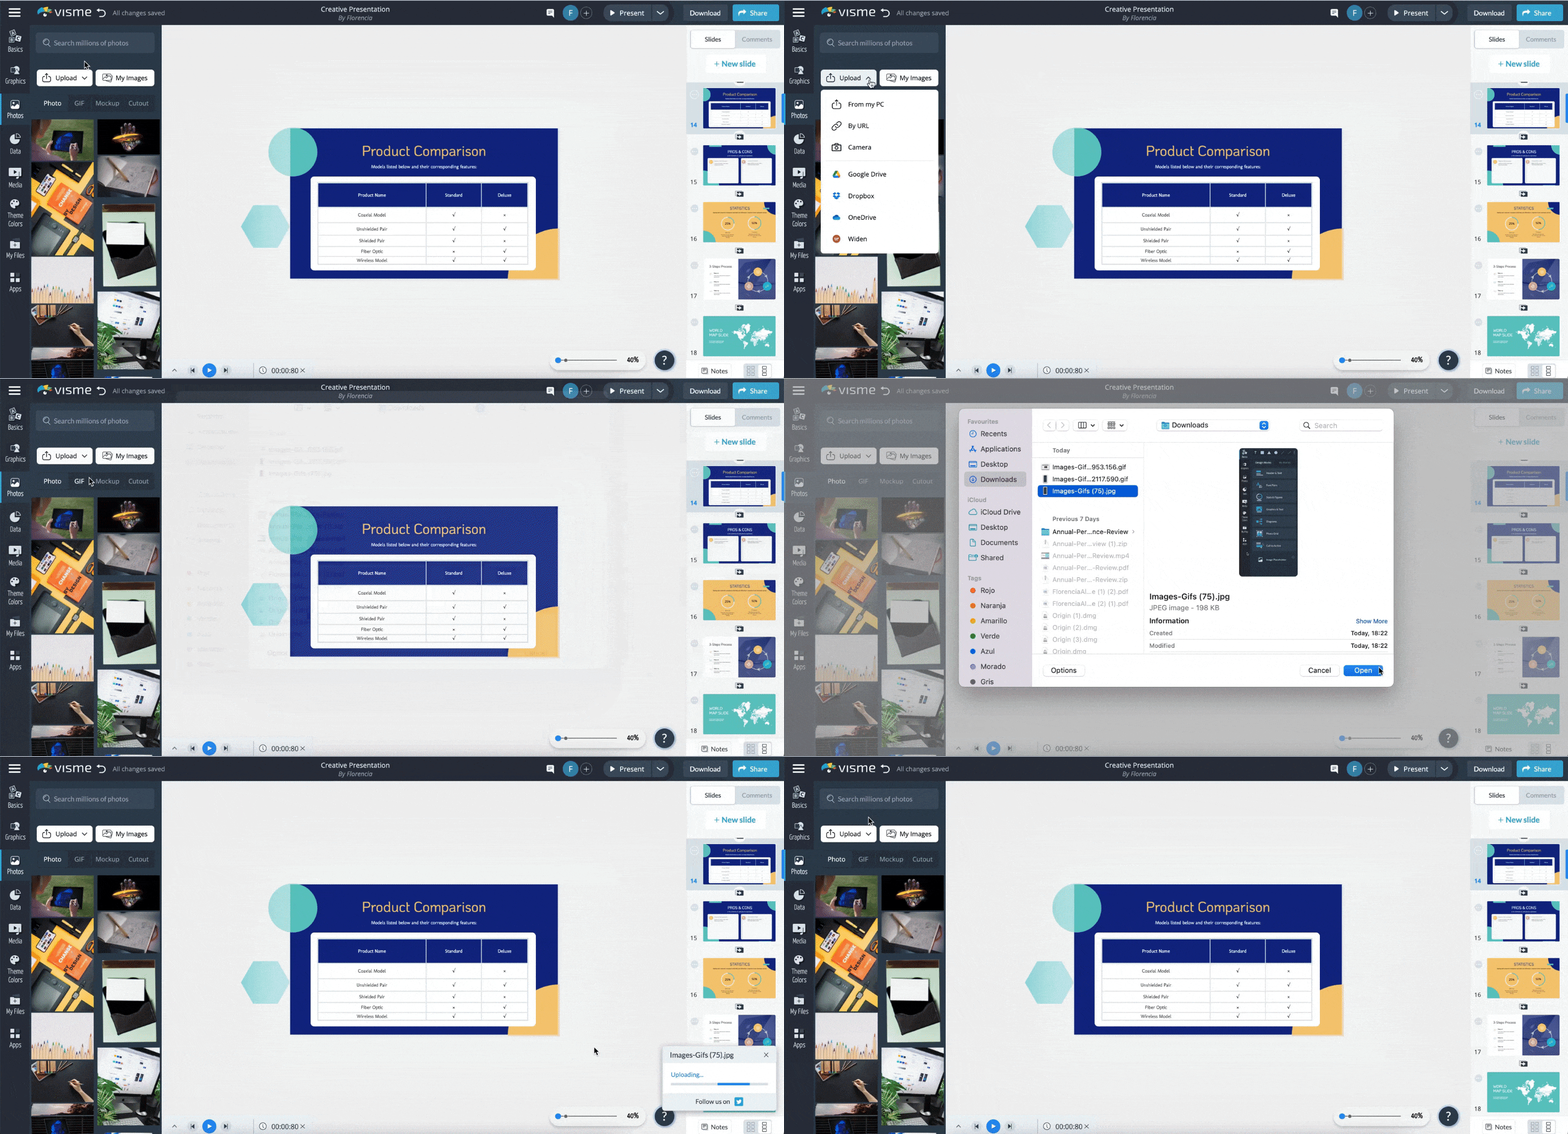
From the Visme editor of your project, click on the Photos tab from the left sidebar and then click on the Upload button.

2
From the dropdown menu, select From my PC. A pop-up will open allowing you to select and insert the desired image from your PC.

3
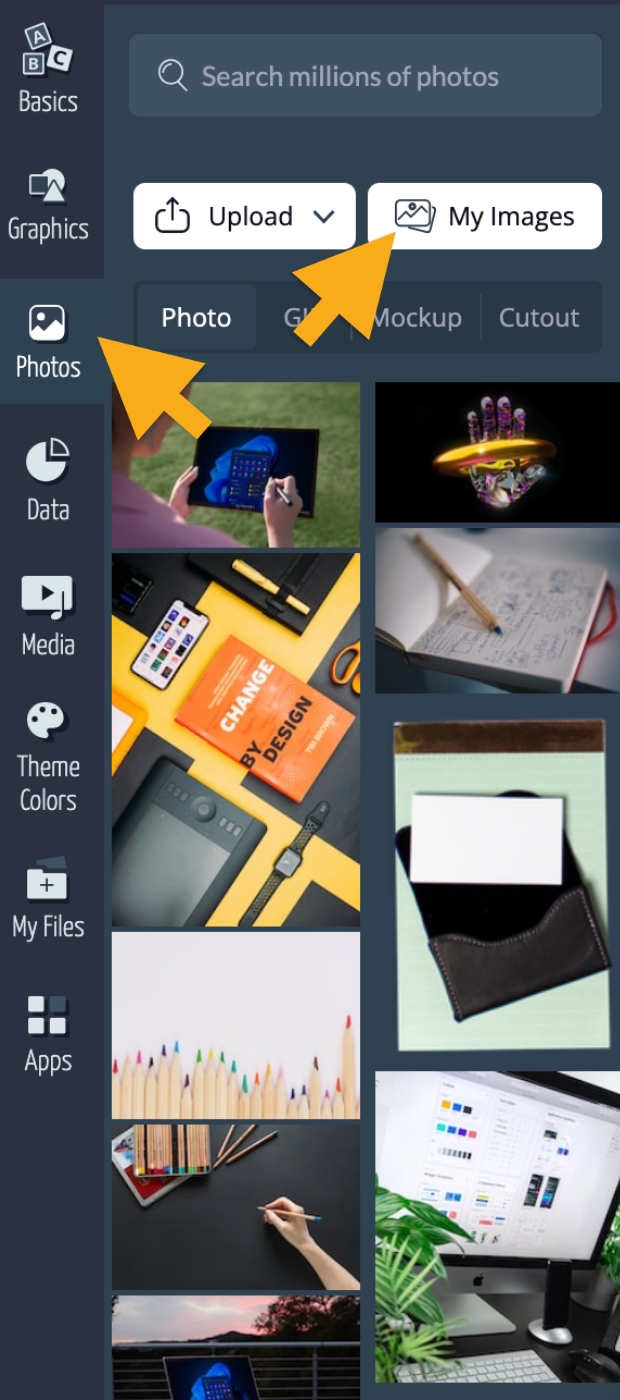
To see the images you have already uploaded, you can click on My Images in the Photos from the left panel. If you want to insert a specific image into your Visme project, simply click on the image.

Image Tips:
– Your image will be uploaded and will be stored in the My Files section.
– To easily manage all your media assets, use the Media Manager in My Files.
– You can also crop images in Visme. This will allow you to select a specific area of your image and achieve the size and proportion desired without having to rely on a third-party program to achieve it. Learn more here.
