Formatting Text
There are many different ways to customize your text in Visme, such as:
On the top bar of the screen, you can change:
- Font
- Font Size
- Text/Font Color
- Font Style
- Paragraph Alignment
- Lists (i.e., bullets)
- More text settings (Spacing, Fill & Border, Transform, Special Characters, Text Direction)
- Effects (Opacity and Shadow)
- Actions (such as linking to another slide, external webpage, social media channel, or email address)

Changing Text Properties:
1
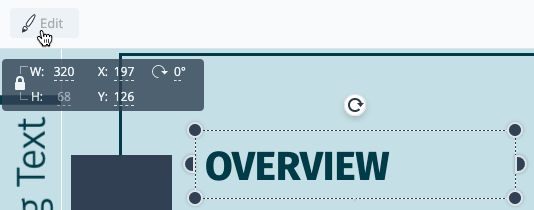
First select the text object you wish to modify, and click Edit at the top left and the top menu will appear (alternatively, you can also double-click the object to bring up the editing menu).
2
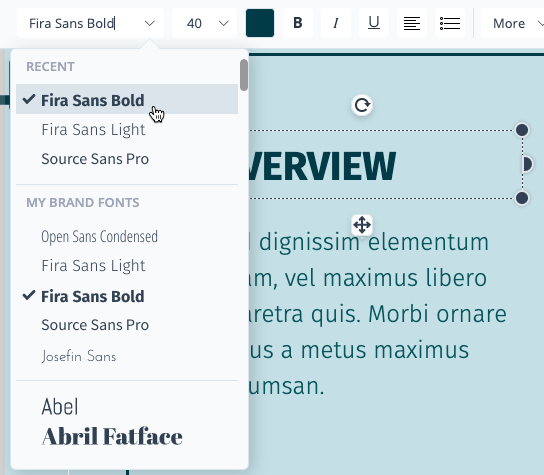
To change the font, select the Font dropdown at the top left, and select your desired fonts. Your most recently used fonts will be at the top, and if you have any brand fonts set, they will be listed above the full ABC listing of fonts.
3
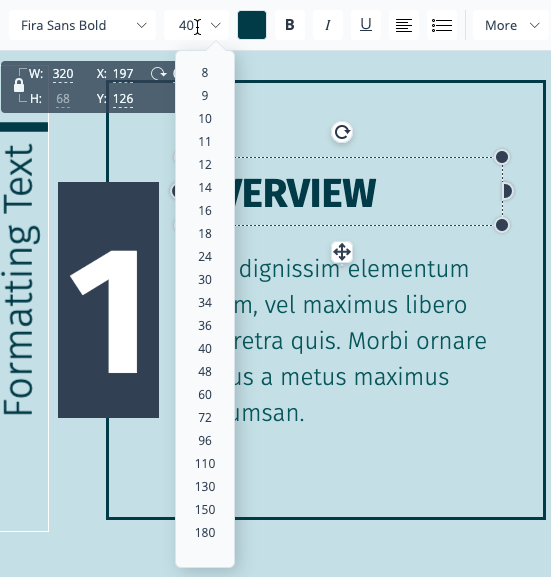
To change the size of your text, select the font size dropdown to the right of the font name. You can select a size from the dropdown or type in your own desired value.
4
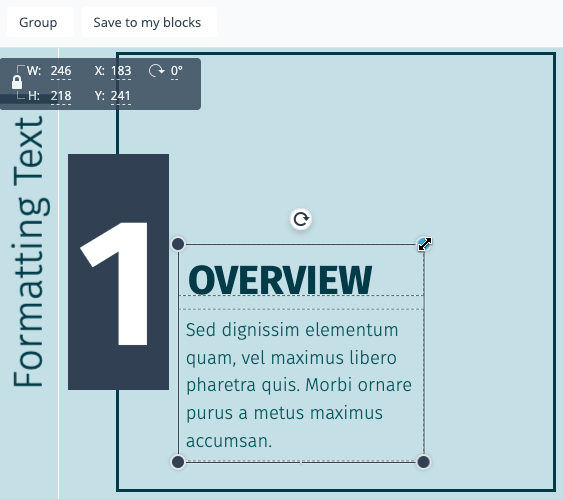
Sometimes it’s more efficient to resize your text proportionally. Select the text objects you wish to resize (or select multiple text objects with Shift+Click), and four dots should appear on the corners of your selection. You can resize your fonts by simple clicking and dragging any of those dots.
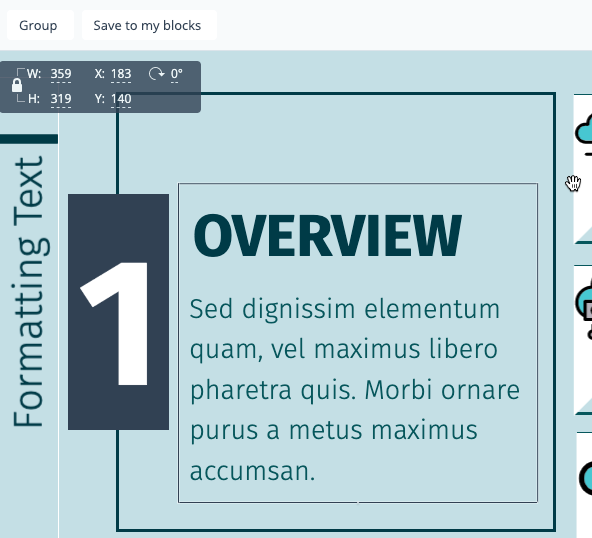
Note: Additionally, you can select multiple items using
Shift+Click and then
Group them together to modify their properties and placement. You can learn more about grouping at
this resource.
5
To adjust your font’s color, click the color icon to the right of the font size dropdown. Your
Recently Used colors will be at the top, followed by
Primary colors you have set in your
Brand area, and any
Theme colors you have designated. You can also use a wide array of
Preset colors in swatches that Visme has designed, as well as use colors you have saved in your
Palettes.

Note: To
replace all of the slide objects with one color to another,
check the box at the bottom of this window when changing colors. To learn how to save colors to a new palette heck out
this resource.
6
To adjust the Style of your font, select the B, I,or U icons to the right of the font color icon to bold, italicize, or underline your text.

7
To adjust the paragraph Alignment of your text, select the Alignment Icon and choose from left-align, center, right-align, or justify text alignment settings.

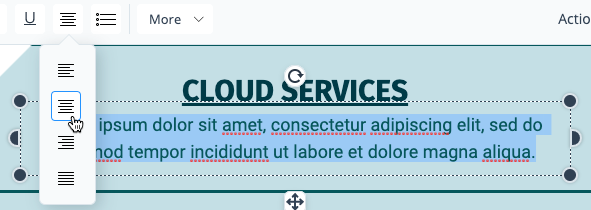
8
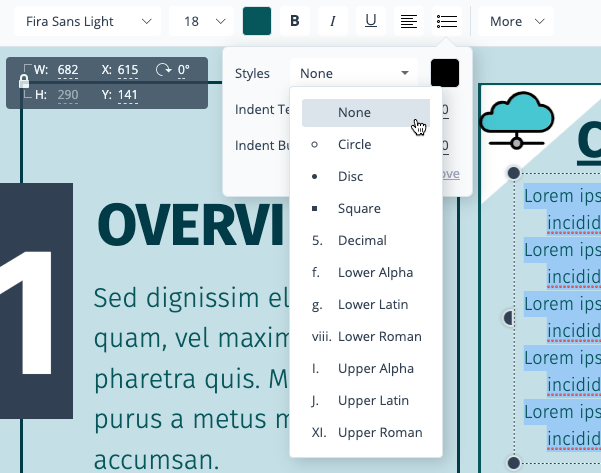
Lists can be easily created by selecting the List icon. By default, a Bulleted Disc list will appear. You can modify both Bullet Indentation and Text Indentation by adjusting the sliders.

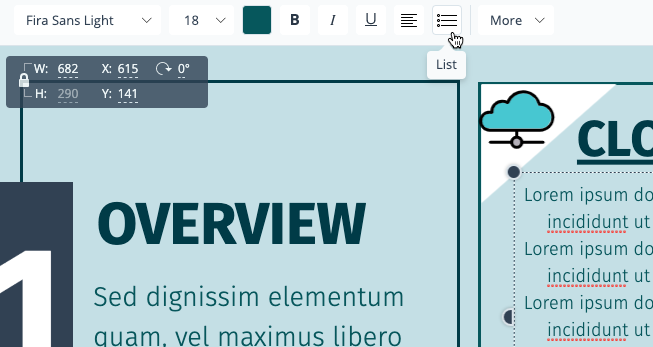

9
In addition to bulleted lists, you can choose from several other alphanumeric list styles in the List dropdown. To remove any list properties you have set, click None.
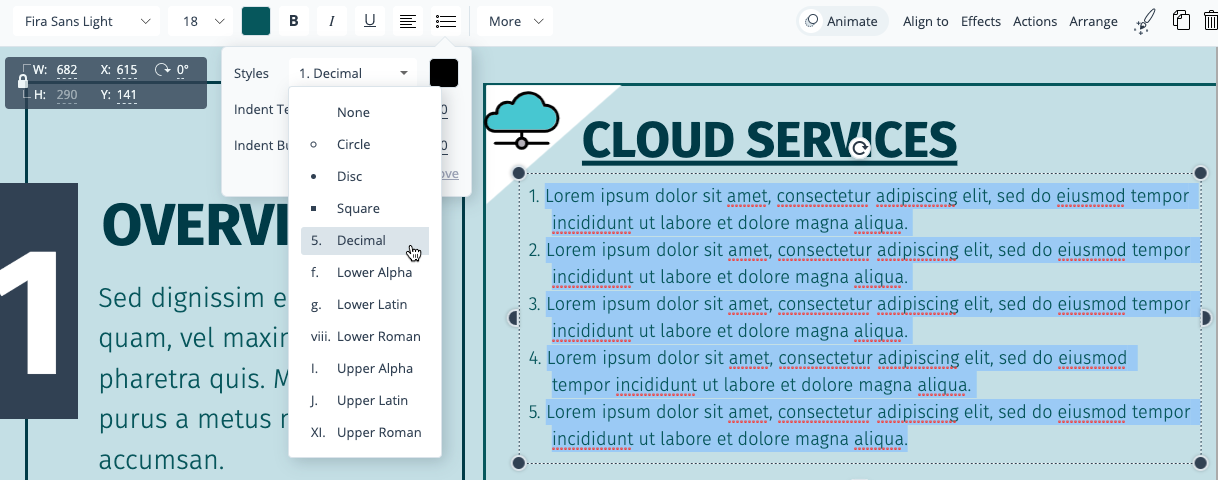
For further text customization, explore the More tab to the right of the List icon. This dropdown menu allows you to alter settings for Spacing, Fill & Border, Transform, inserting Special characters and code, as well as Text Direction.

1
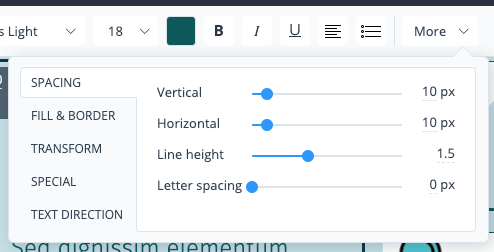
The Spacing options available alow you to adjust the text’s pixel and line spacing with slides: Vertical, Horizontal, Line height, and Letter Spacing.
2
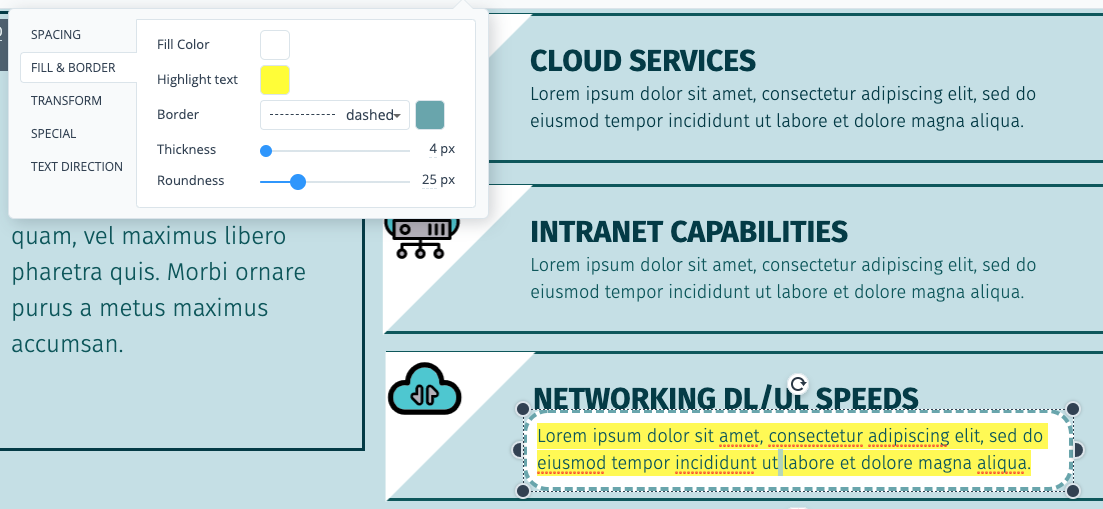
The Fill & Border options available allow you to adjust the Fill Color (also known as background color), Highlight color, Border Style, Color, Thickness, and Roundness.
3
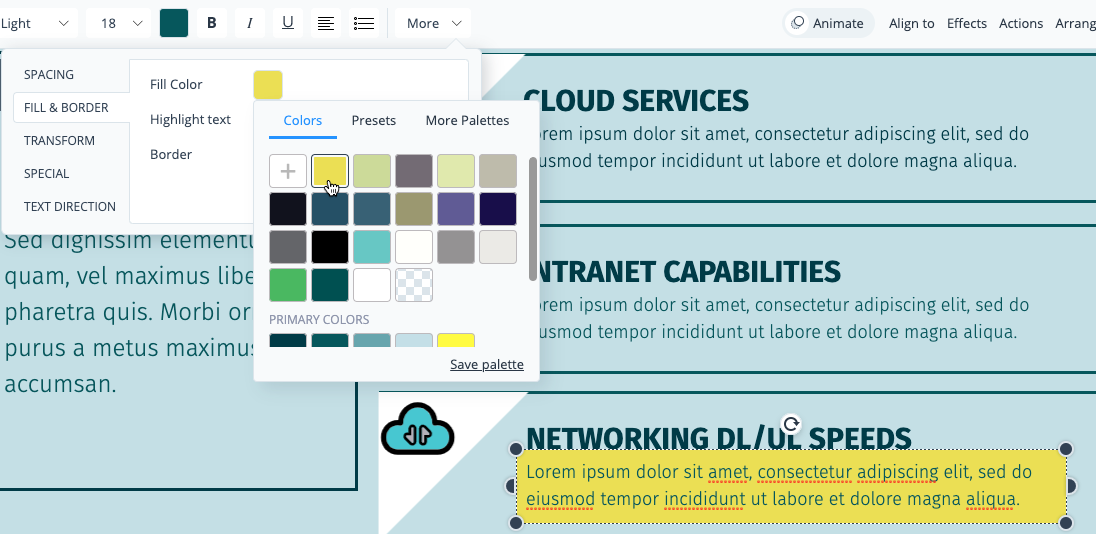
The available options for Fill Color are the same for when you change the font’s color (see above item #5). To remove all colors for a Transparent background, click the Transparency Background.

4
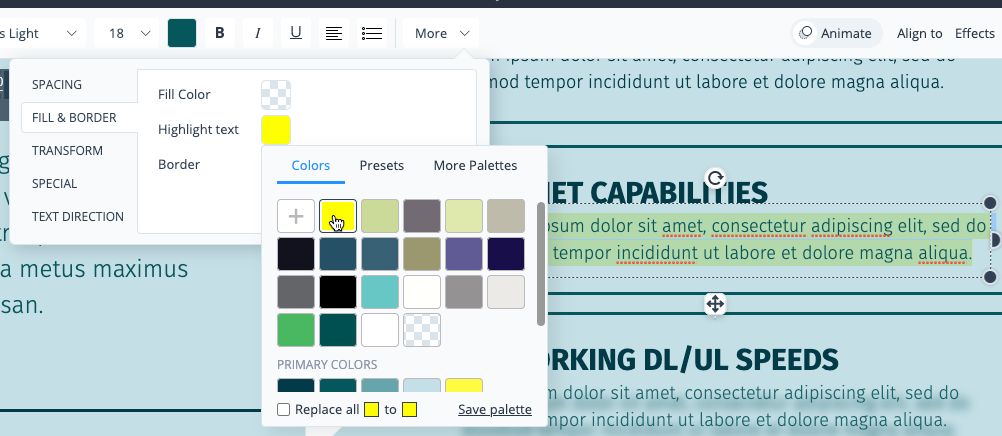
To set a Highlight color for your text, choose from the menu. To remove your highlight color, click the Transparency icon.

5
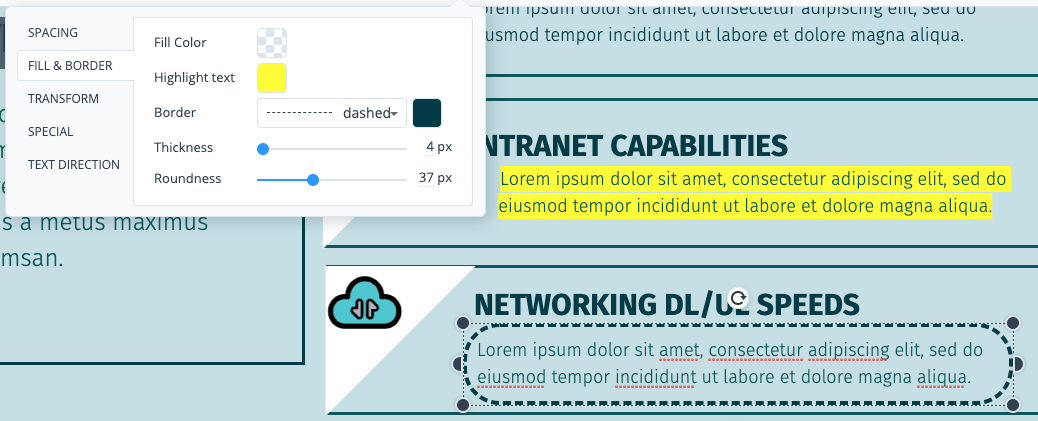
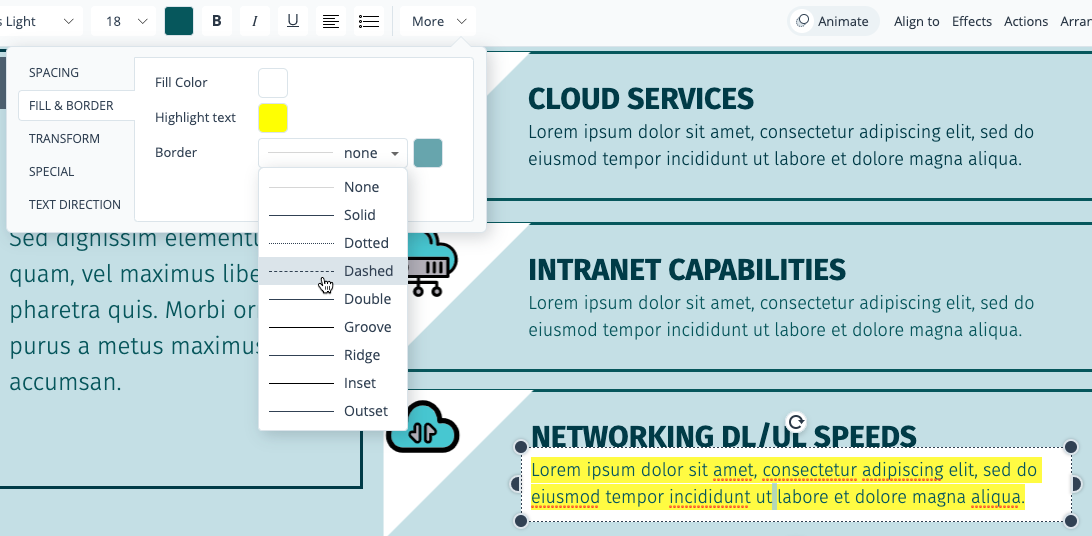
You can add several different styles of Borders to your text objects. In addition to adjusting the colors for your border, you can also adjust the Thickness and Roundness of the border with the sliders. To remove a border, select the Border dropdown menu again and click None.
6
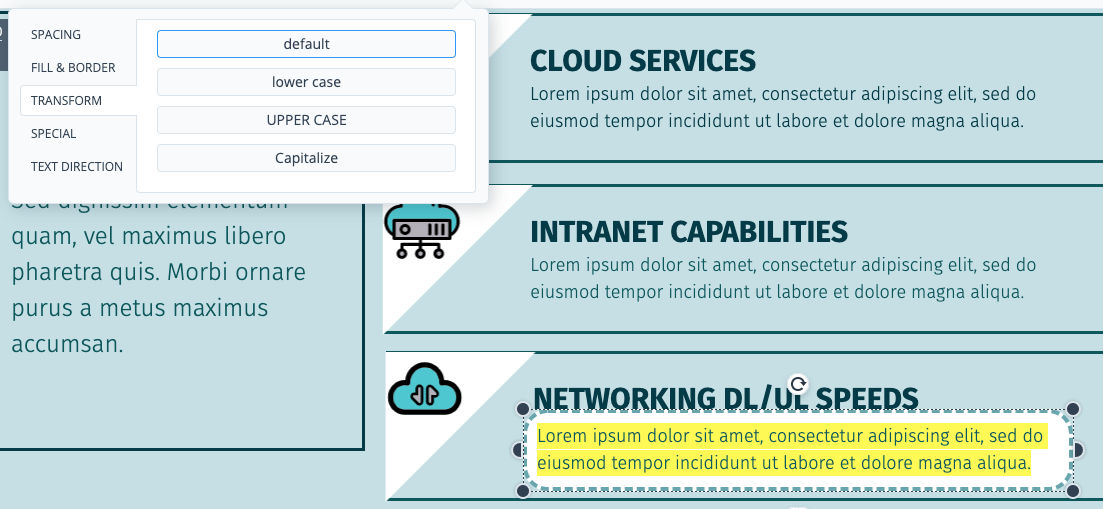
The Transform options available allow you to adjust your text from default (text appears just as it was typed), lower case, UPPER CASE, and Capitalize Each Word.
7
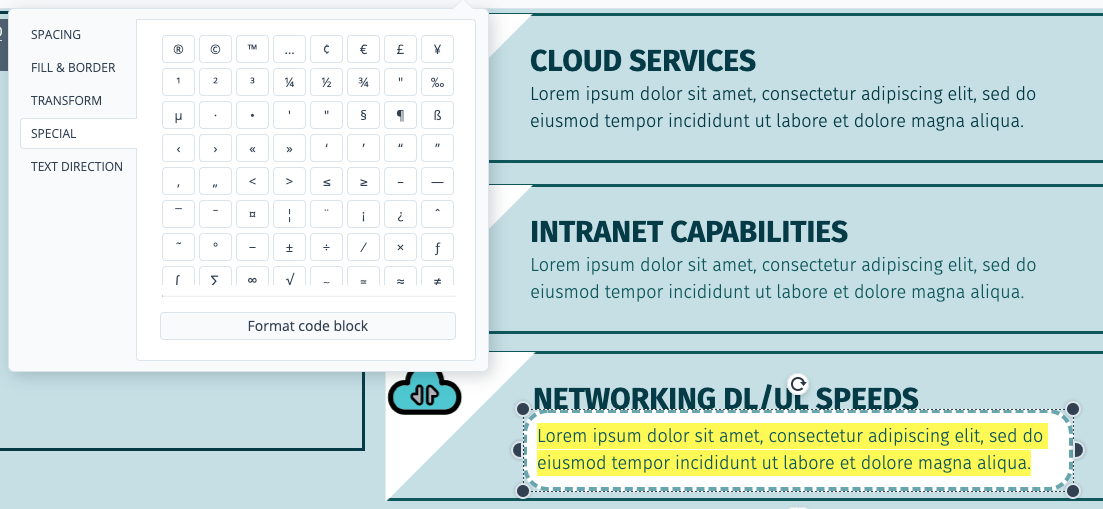
The Special options allow you to insert special characters & symbols, and even enter the code by selecting Format code block.
8
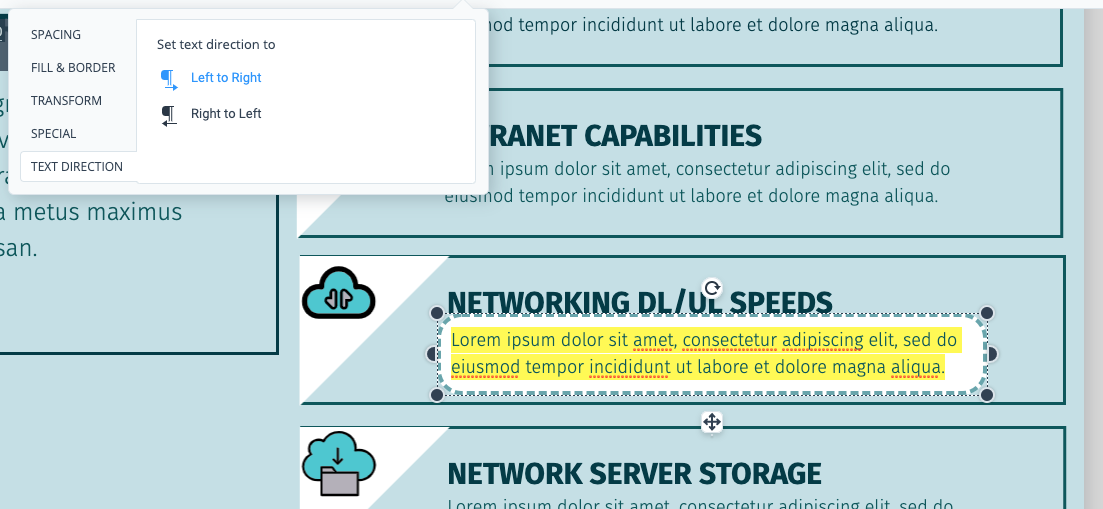
Text Direction allows you to change the direction that the text is entered into the object, either Left to Right or Right to Left.
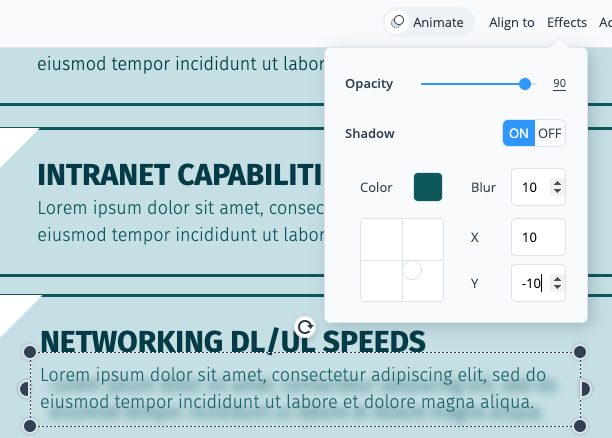
When your text object(s) are selected, the Effects tab to the right of the top bar will allow you to adjust the Opacity & Shadow of your text. You can customize the Shadow’s Color, Blur, and even its position behind the text. You can select a position on the grid or enter your own custom X and Y values.
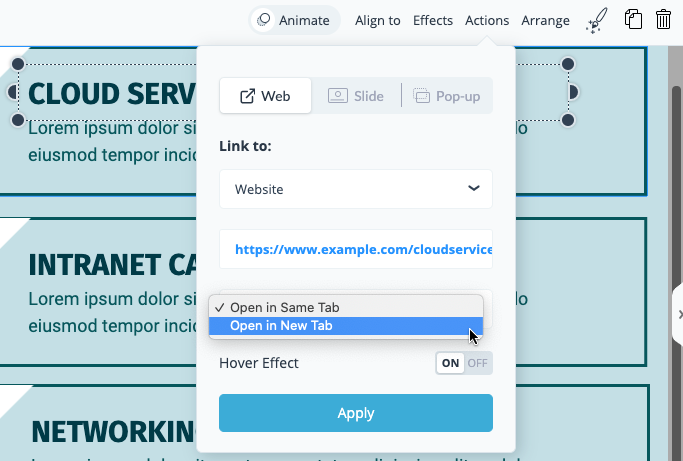
Additionally, the Actions tab to the right of the top bar will allow you to link your text object to another slide, an external webpage, a social media channel, or even an email address. More information about the Actions tab can be found at this resource.
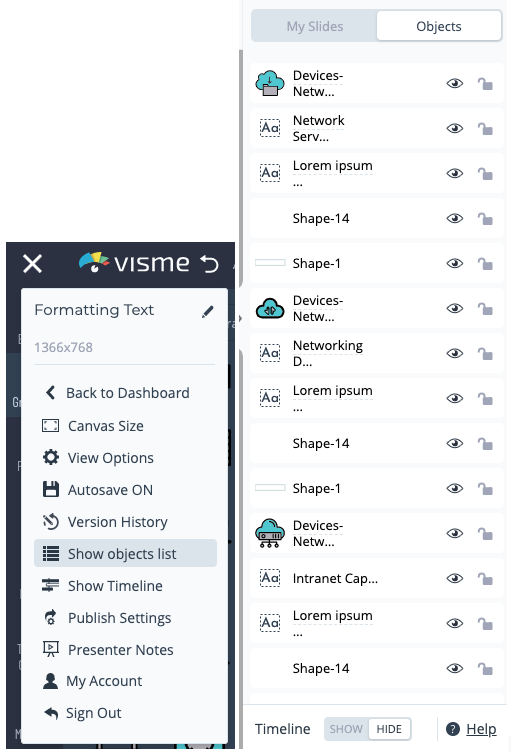
Note: To show all of your objects in one place for easy selection, renaming, and editing, select the menu icon from the left sidebar and click Show Objects List. The list will appear on the right side of the editor window, in the same space you see your Slides or Blocks (infographic). To view the full list, make sure the Objects tab at the top right is selected. To further control the timing of each object entering the Project, select Show Timeline.



![]()

![]()


![]()

